Labeling and Shelving
Labeling Boxes
Fill out the Box Template with the collection ID, title, date range, and the box number. For collections that have more than one box, make sure to put “Box 1 of” and then whatever the final box total is.
NOTE: Try not to adjust the label sizes in the Word doc.
Before printing, be sure to find the label paper (next to the small grey HP printer). Place a piece in the paper feeder, not a tray. After that, feel free to print. Place the labels on the appropriate box.
Shelving Materials and Linking Locations
Consult with colleagues, if needed, about where an appropriate place is to house the collection. Make note of the row, section, and shelf each box is on.
Return to Resource Record in ArchivesSpace and scroll to the Instances field. It should look like this:
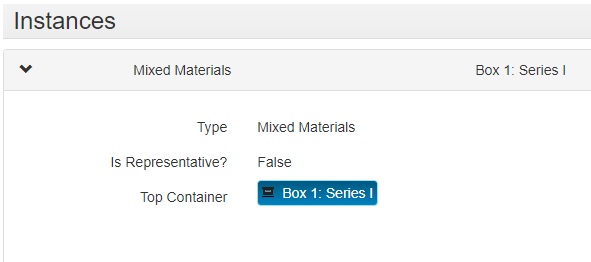
To link location information:
- Click on the blue Top Container button, and then click View.
- A window will pop up with the container details. Click Edit.
- In the Locations field, click Add Location (to the right).
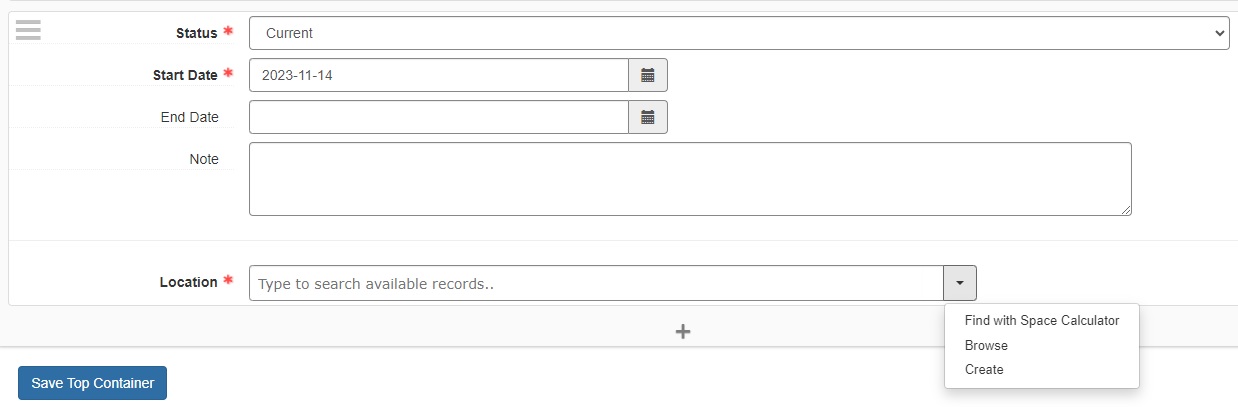
All cage locations should be in ArchivesSpace. From the dropdown menu, select “Browse.” A window with then come up and look like this:
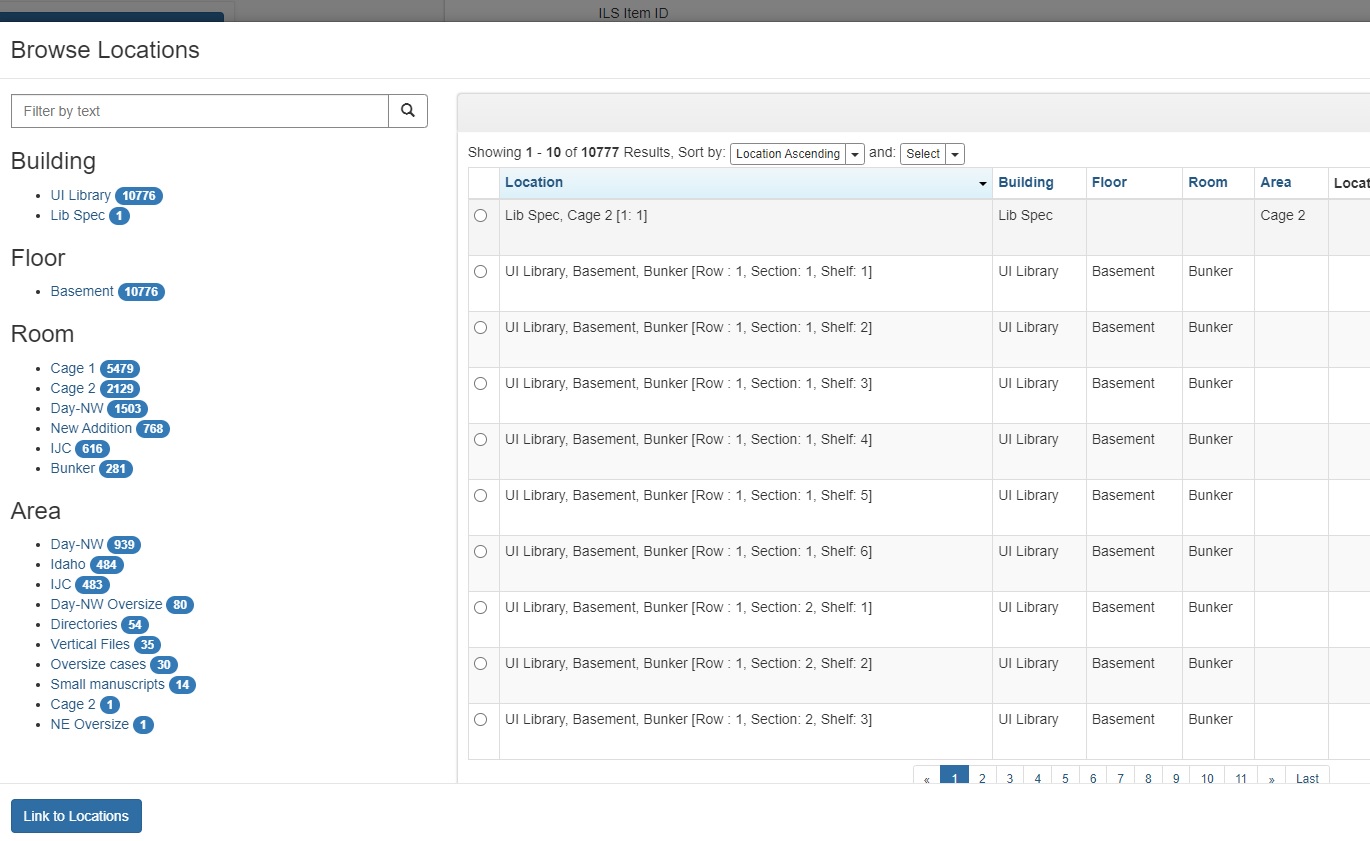
When searching for a location, filtering the result by Room is beneficial. After filtering to the area, you’re searching for, in the text box type in the row information.
- For example, if you’re putting a collection in Cage 1, in Row 113, select “Cage 1” from the Room. Then type in “113.”
- Once you find the location you need using the row, section, and shelf information you gathered, select the correct result. Then click Link to Locations. After linking, your screen will return here with the newly added location information.
Be sure to click Save Top Container. Now when you go back to the Resource Record and scroll to the Instances, the boxes will have locations attached to them.
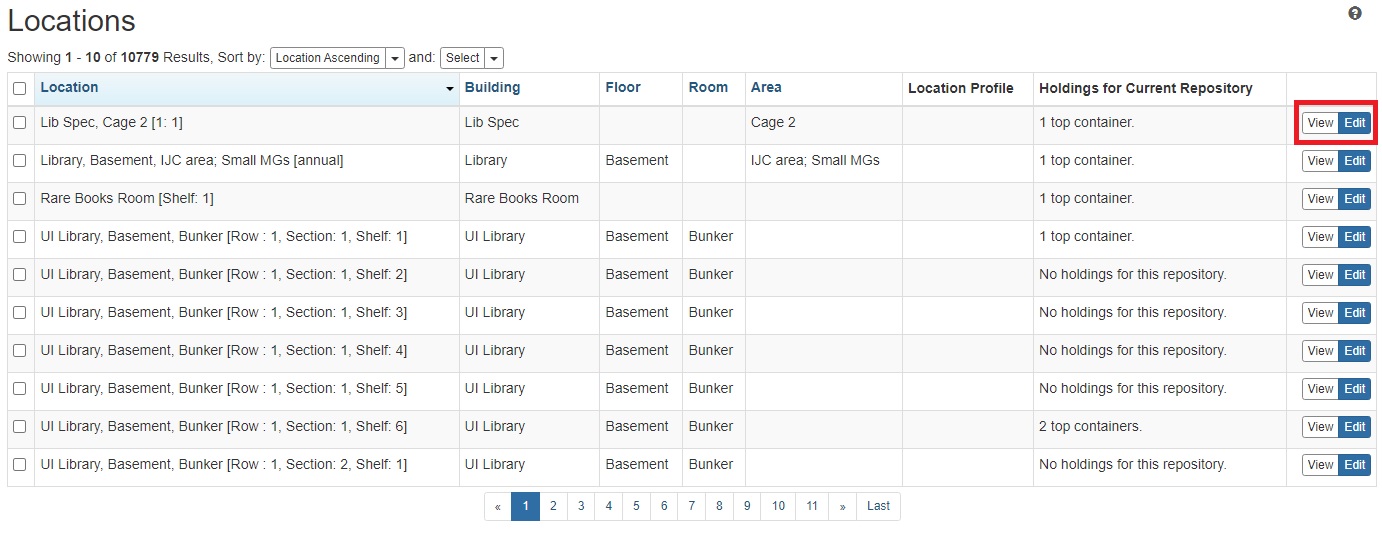
WARNING: When editing a box’s location, make sure you aren’t editing the actual location information as shown below. Changing this information doesn’t change box information, it changes the entire location record.
Creating or Editing Location Records in ArchivesSpace
If shelving a collection and there is no location record in ArchivesSpace, create one.
NOTE: Always double check if there is a location record to eliminate duplicate work!
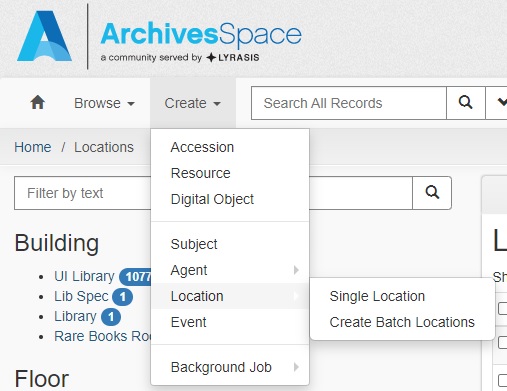
- In ArchivesSpace, click Create.
- From the drop-down menu, hover over Location.
- Choose either Single Location or Create Batch Locations
- usually select Single Location
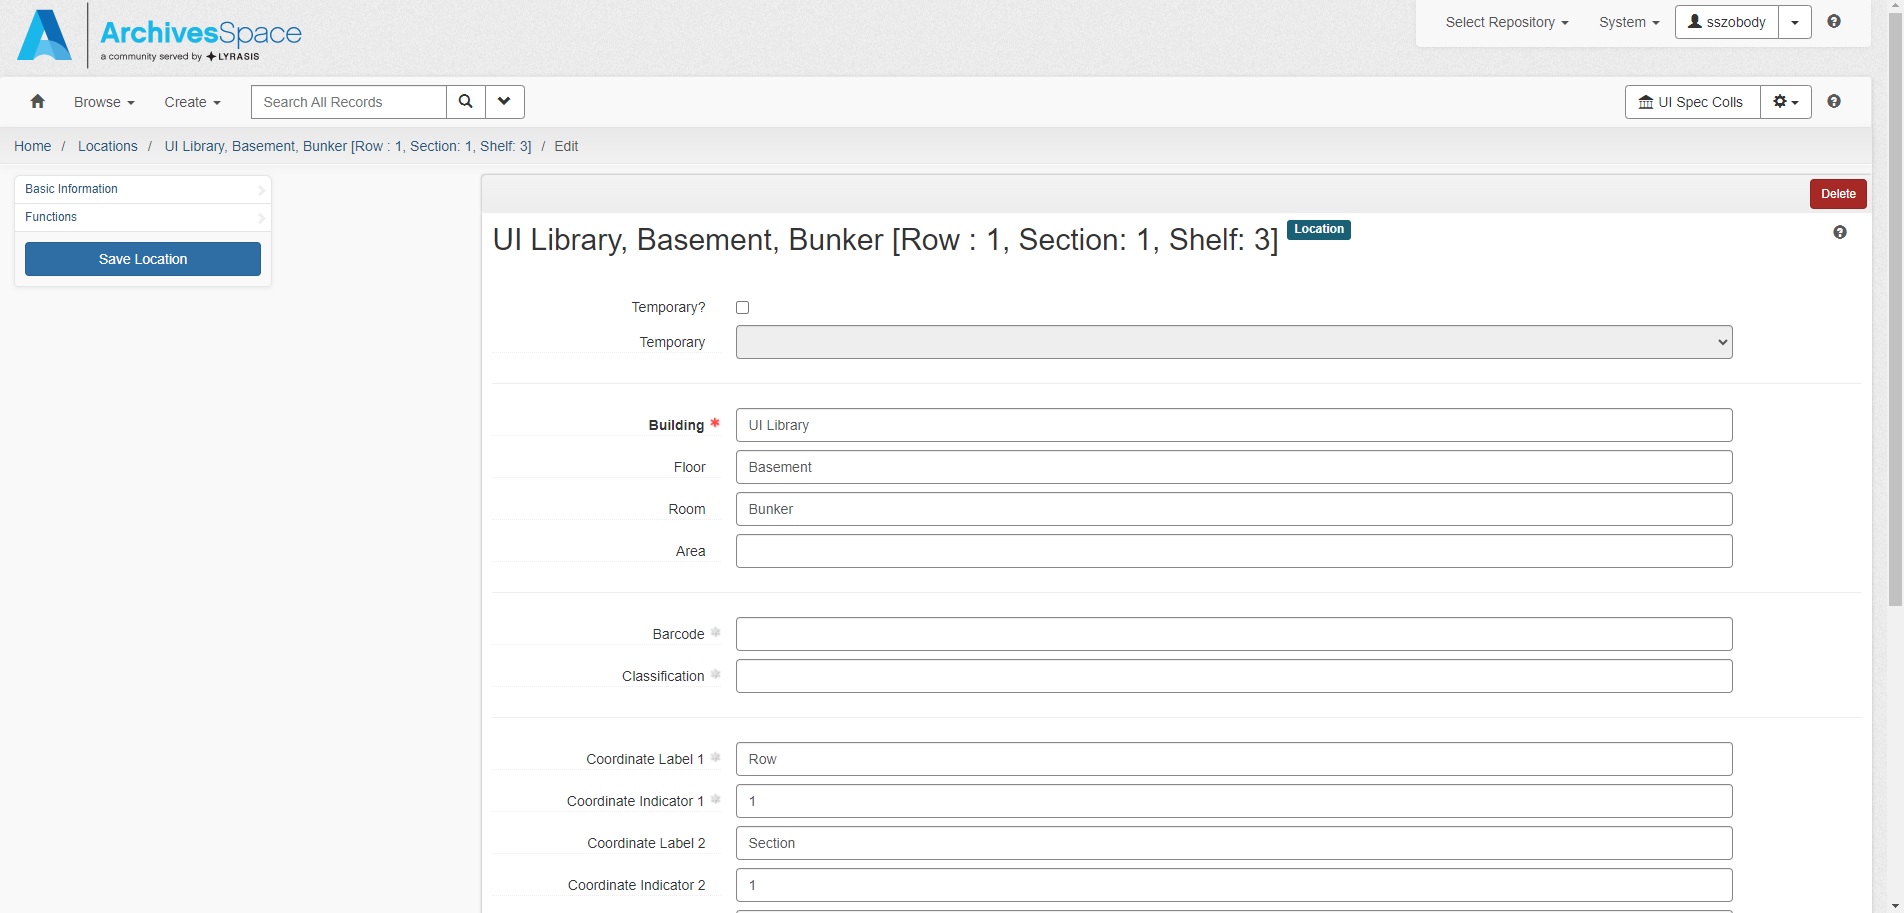
- Fill in New Location fields:
| Field | Required | Content | Examples |
|---|---|---|---|
| Temporary? | No | Skip | |
| Building | Yes | Type in: UI Library | |
| Floor | Yes | Type in: Basement | |
| Room | Yes | Type in storage area location. | Bunker, Cage 1, Cage 2, etc. |
| Area | No | Skip | |
| Barcode | No | Skip | |
| Classification | No | Skip | |
| Coordinate Label 1 | Yes | Type in: Row | |
| Coordinate Indicator 1 | Yes | Numerical | 1, 2, 3, etc. |
| Coordinate Label 2 | Yes | Type in: Section | |
| Coordinate Indicator 2 | Yes | Numerical | 1, 2, 3, etc. |
| Coordinate Label 3 | Yes | Type in: Shelf | |
| Coordinate Indicator 3 | Yes | Numerical | 1, 2, 3, etc. |
| Location Profile | No | Skip | |
| Repository | No | Skip |
-
When finished filling out fields, click the blue Save Location button.
-
To simply edit a location record, browse for the location and once found click the blue Edit button. Then edit necessary fields.