Archives West Finding Aid
Updated 04-10-2026
After a Resource Record is completed in ArchivesSpace, upload the finding aid to Archives West.
NOTE: Resource Record files over 8 MB cannot be uploaded by Spec staff. Submit these requests via the Help Request Form in Archives West Management Tools.
Step 1:
- If you have not done so already, get an EAD location (ARK URL) from Archives West Management Tools:
- Log into the Archives West Management Tools site
- Select ARK Request
- Copy and paste the URL into the Resource Record
Step 2:
- To the right of the record, click on the Export button.
- Then hover over the Download EAD. A small window will pop up.
- Make sure the top 4 boxes are checked (do not check “EAD3 schema”).
- Then click on Download EAD.
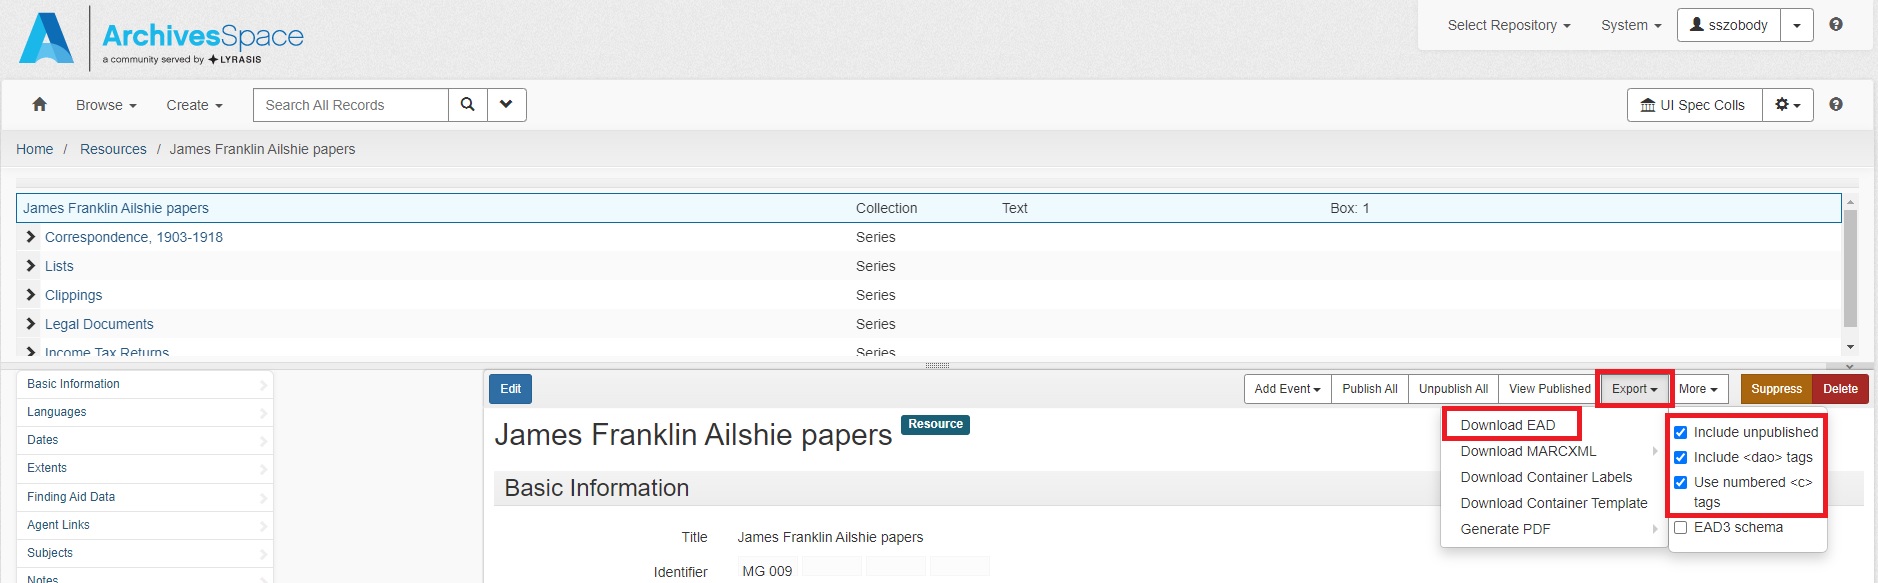
- An .xml file will download.
Step 3:
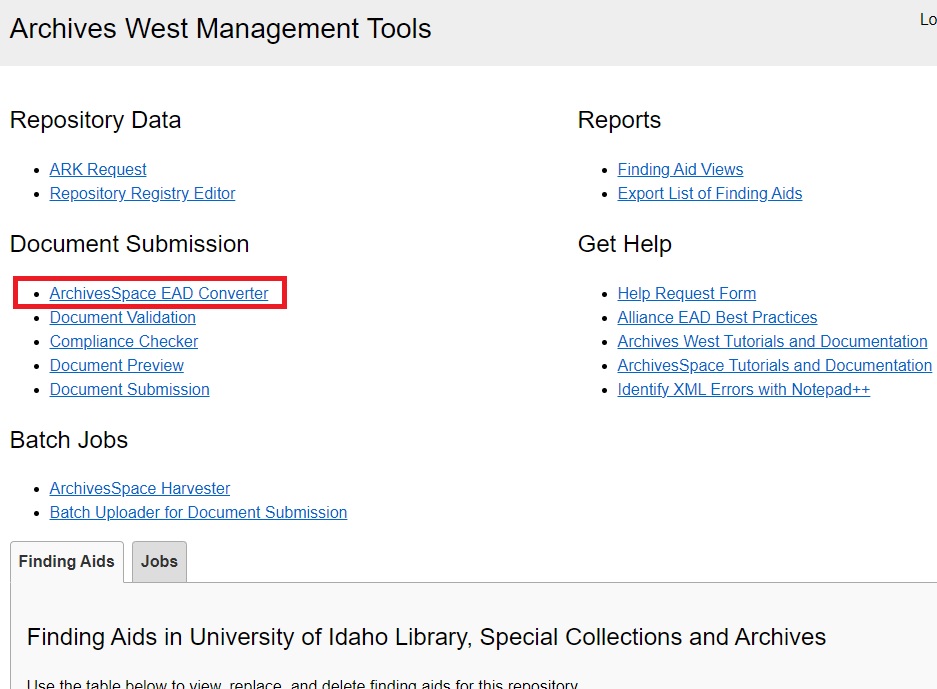
- Open and log into the Archives West Management Tools site.
- Username and password information can be found in the Spec Accounts document on SharePoint.
- Under the Document Submission section, click ArchivesSpace EAD Converter.
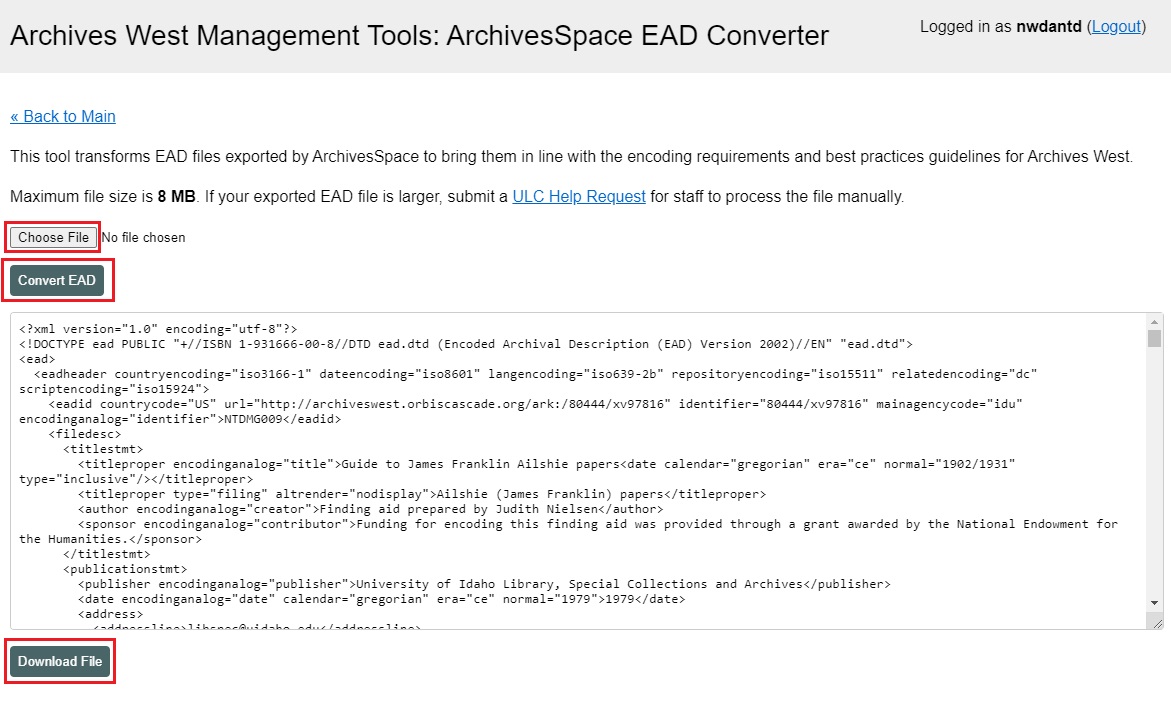
- Choose the .xml file you downloaded from ArchivesSpace, and click Convert EAD.
- Scroll through the display and check for any noticeable errors. Make any fixes in ArchivesSpace.
- Click Download File.
- The new downloaded file’s name should begin with NTD and the collection number.
- Example: NTDMG009.xml
- The new downloaded file’s name should begin with NTD and the collection number.
- Go back to the Tools homepage.
Step 4:
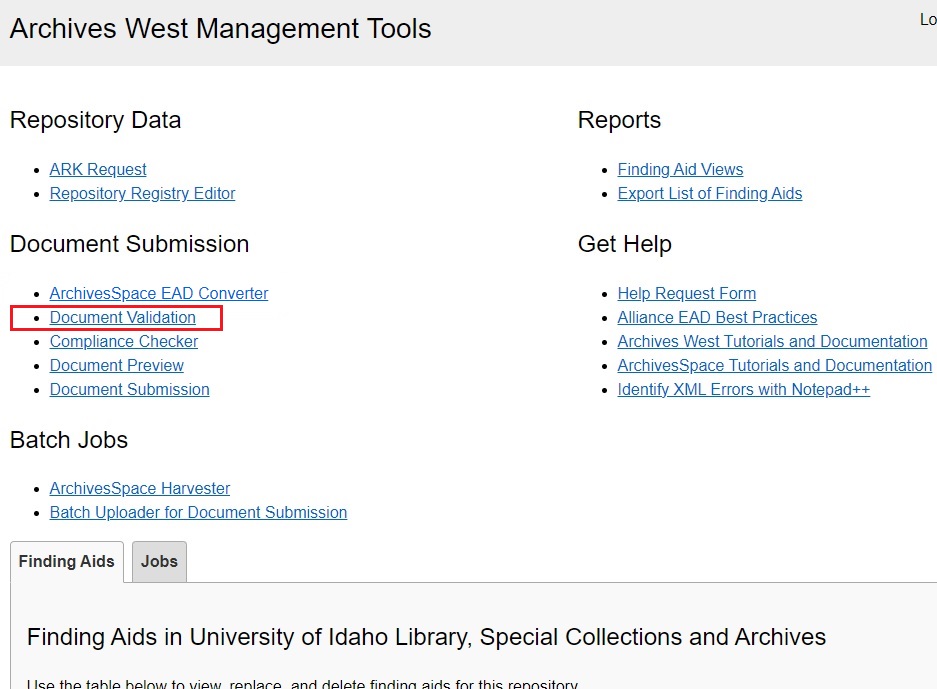
- Under the Document Submission section, click Document Validation.
- Choose and upload the NTD file and click Validate File.
- A green message should pop up saying the file is valid.
- If there is an issue in the record, there will be an error message in red.
- Check Resource Record for potential error. Consult colleagues if unable to determine the issue.
- Go back to the Tools homepage.
Step 5:
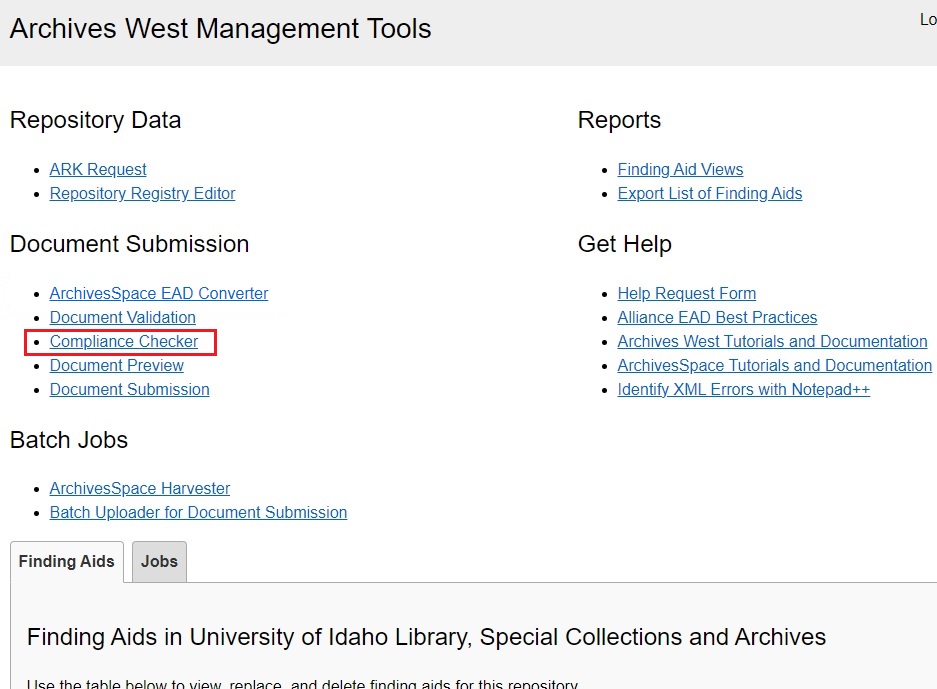
- Under the Document Submission section, click Compliance Checker.
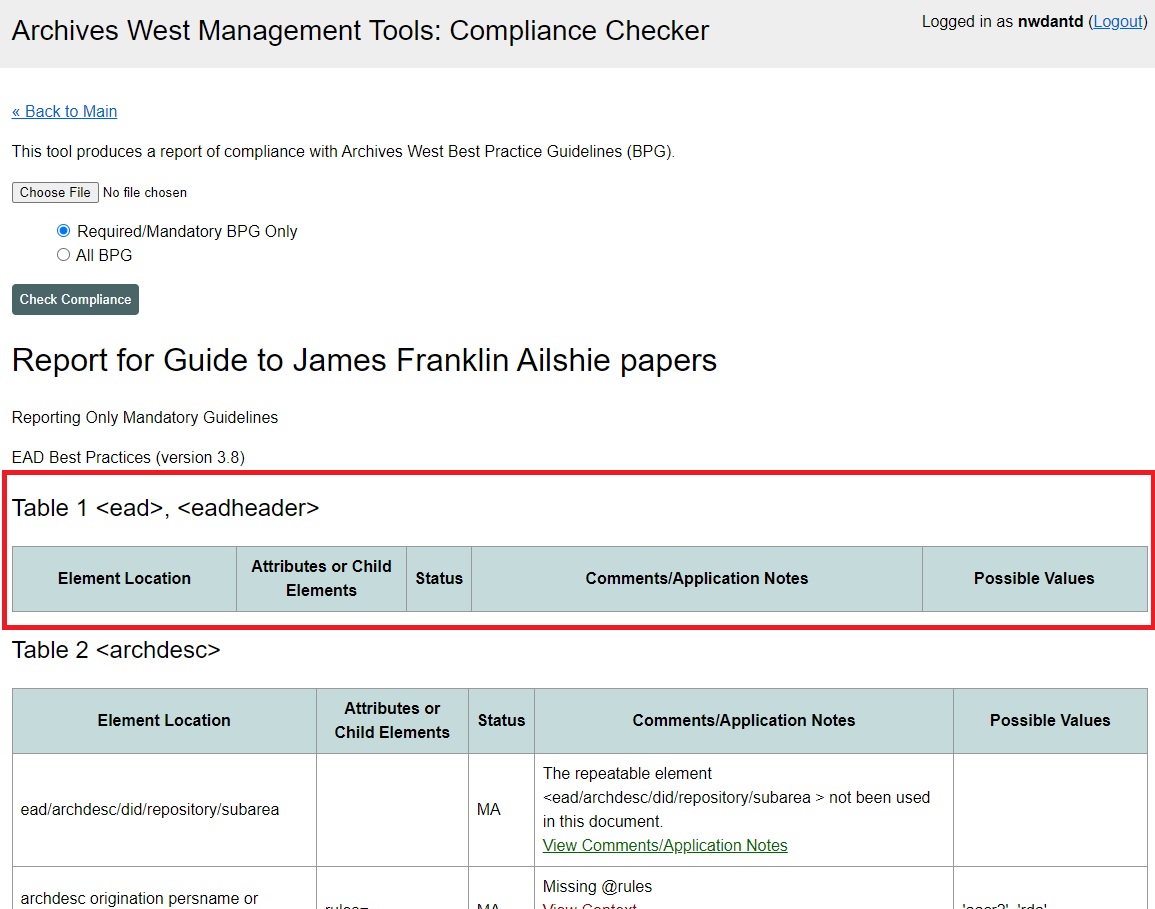
- Choose and upload the NTD file, check Required/Mandatory BPG Only, and click Check Compliance.
- If an error occurs, the text will be in red.
- If the beginning section contains an error, the file will not be loaded the Archives West.
- Check Resource Record for potential error. Consult colleagues if unable to determine the issue.
- If the following sections contain errors, check the Resource Record.
- These errors can get pushed through and the finding aid will load on Archives West. Consult colleagues if unable to determine if an issue should be/can be resolved.
- Go back to the Tools homepage.
Step 6:
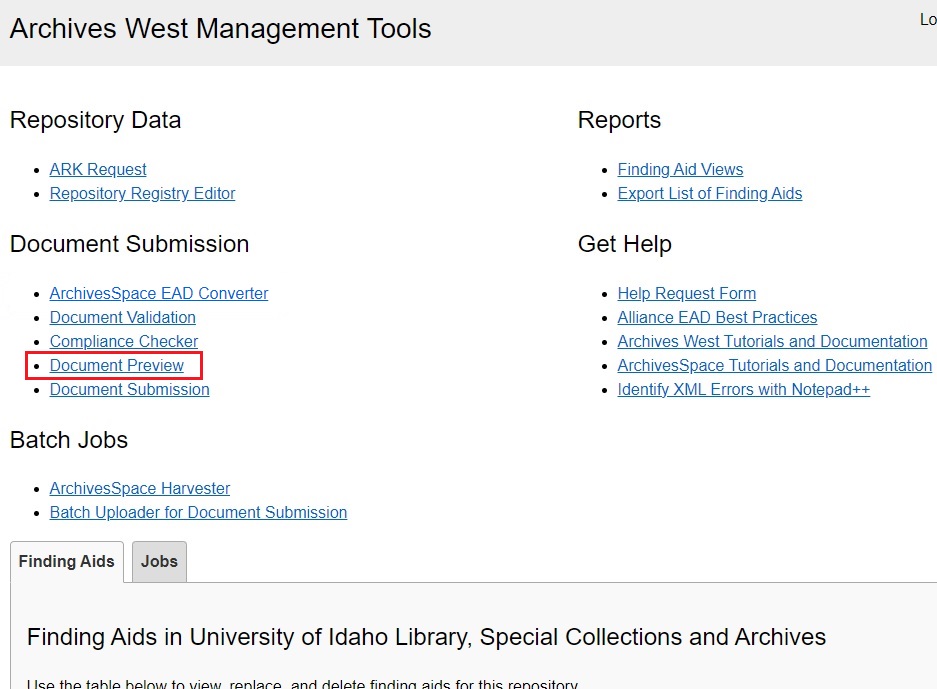
- Under the Document Submission section, click Document Preview.
- Choose and upload the NTD downloaded file and click Preview Finding Aid.
- A window will pop up with a preview of what the finding aid will look like on Archives West.
- Check for any issues. Small changes - like spelling errors- can be made in the .xml file by opening it in Visual Studio Code (VSC) (a program which should be installed on computer).
- Save changes, the upload the file to preview it again.
- Check for any issues. Small changes - like spelling errors- can be made in the .xml file by opening it in Visual Studio Code (VSC) (a program which should be installed on computer).
- Go back to the Tools homepage.
Step 7:
- Under the Document Submission section, click Document Submission.
- Choose the correct ARK associated with the Resource Record. Click Use ARK.
- In the next window, choose and upload the NTD downloaded file and click Preview Finding Aid (to double check final touches).
- Click Upload File. This may take some time.
- If there are errors, the text will be in red.
- Refresh the page to view the link to the newly created finding aid.
- Process complete.