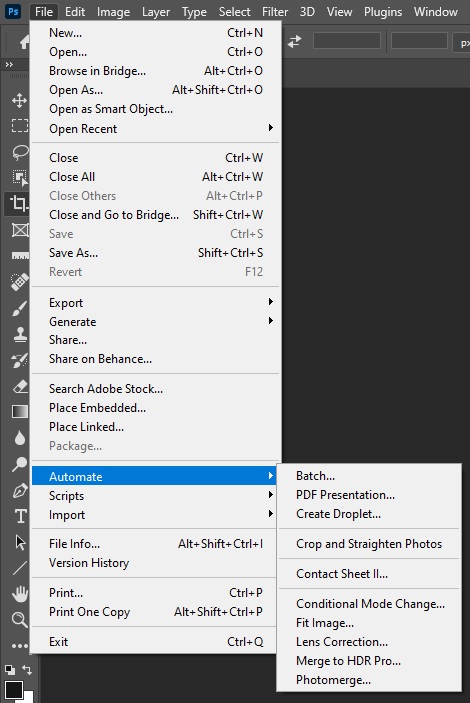
Processing Images
- If it hasn’t been done already, go to the folder for this scanning project (in your personal ‘Scans’ folder) and make two new folders: one named ‘access jpg’, and the other ‘lowres jpg’.
Transform to Access Jpeg
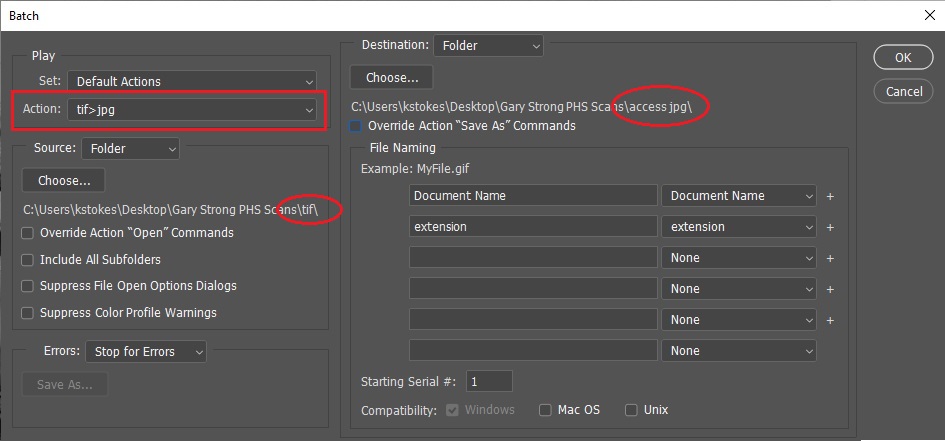
- Open Photoshop. Go to File > Automate > Batch.
-
In the Batch window, select the action ‘tif>jpg’. If this action doesn’t exist on your workstation yet, ask a supervisor how to create it.
-
For the Source, make sure folder is selected. Click Choose and select the tif folder where your new scans are stored.
-
For the Destination, make sure folder is selected. Click Choose and select the access jpg folder.
-
Click OK.
-
-
After Photoshop has completed the action, make sure all the images have scanned to the correct folder.
-
In the access jpg folder, open images in Photoshop and crop out the color bar. Balance images using the Levels tool in Photoshop if needed. Save and close images when done with them.
Transform to Lowres Jpeg
-
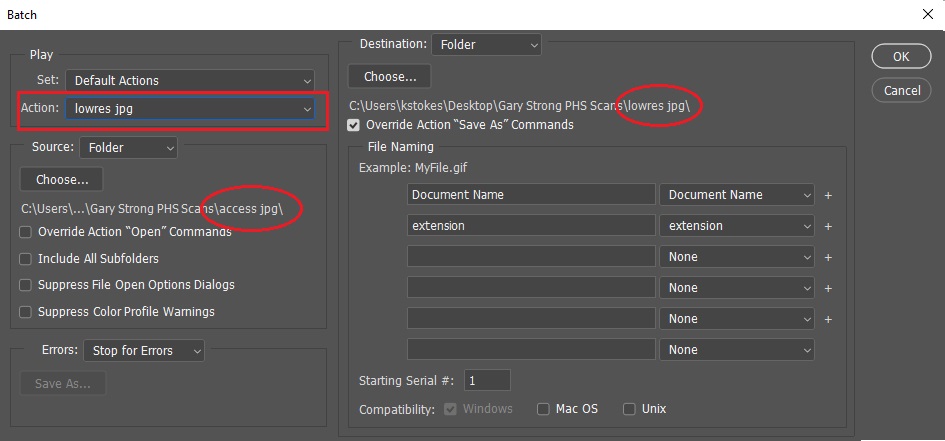
Once finished with the whole access jpg folder, go back to Photoshop to File > Automate > Batch.
-
In the Batch window, select the action ‘access>jpg’. This may also be called ‘300dpijpg’. If this action doesn’t exist, ask a supervisor how to create it.
-
For the Source, make sure “folder” is selected. Click Choose and select the access jpg folder that contains all the adjusted images you just created.
-
For the Destination, make sure folder is selected. Click Choose and select the lowres jpg folder. Make sure the file path reads the correct destination.
-
Click OK.
-
- After Photoshop has completed the action, make sure all the images have been saved to the correct folder.