Batch Convert Tiff to Jpeg
The CDIL preserves the TIF files produced during scanning as archival files, so the TIF files are not edited for color adjustment or visual presentation. An action in Adobe Photoshop is used to run a batch process on the archival TIF files to produce full resolution Jpeg copies that can be cropped and processed. Actions are a series of commands in Photoshop that have been recorded that Photoshop can play back to execute the same commands on different files.
Note: Non-batch related instructions for processing material can be found on the Processing Images and Processing Documents pages.
Photoshop Batch Actions
Tiff to Access Jpeg Action
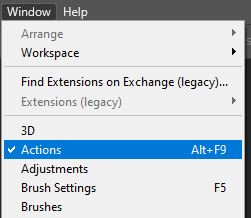
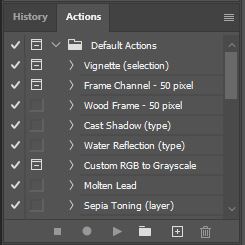
- In Photoshop, make sure you have access to the Actions Window by selecting it under the Window menu (Window > Actions) or with the shortcut Alt+F9.
- Open one of the Tiff files to be processed in Photoshop.
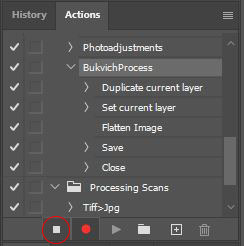
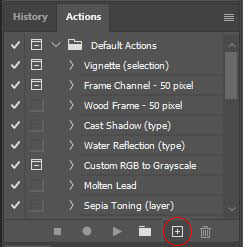
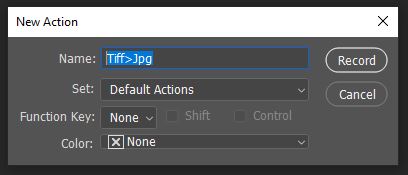
- In the Action window, click on the Create new action button. Name the action “Tiff>Jpg”
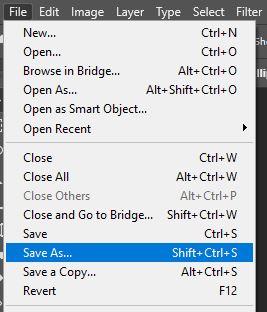
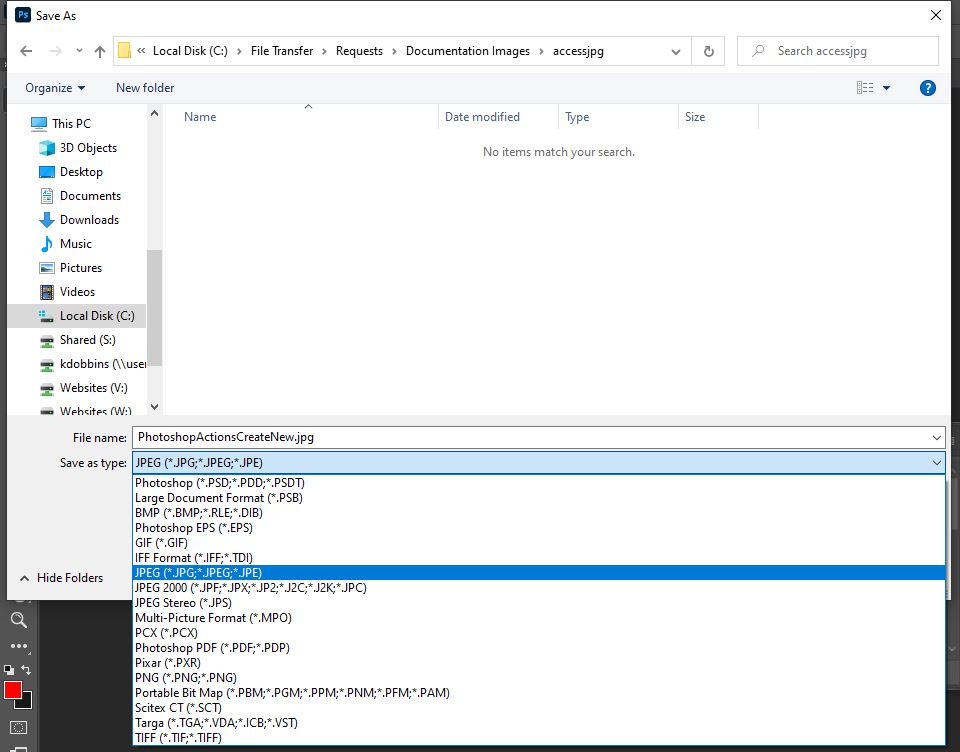
- Select the “Save As…” command under the File menu. Navigate to the “accessjpg” folder for the project. Choose “Jpeg” from the “Save as type:” drop down menu. Click “Save”.
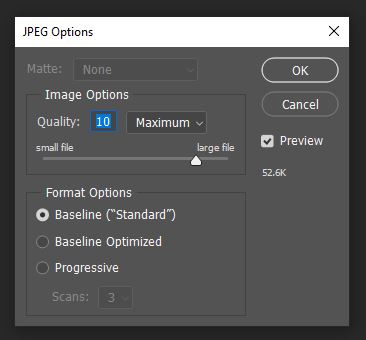
- Change the “Quality” value to 12 and click OK.
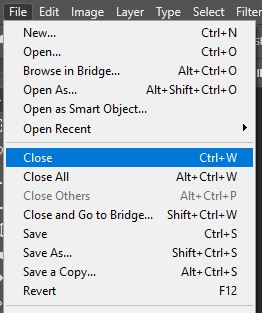
- Select “Close” from the File menu or use Ctrl+W.
- Stop recording by clicking the Square “Stop playing/recording” icon in the Actions window.