How To Deploy Your Site on GitHub Pages
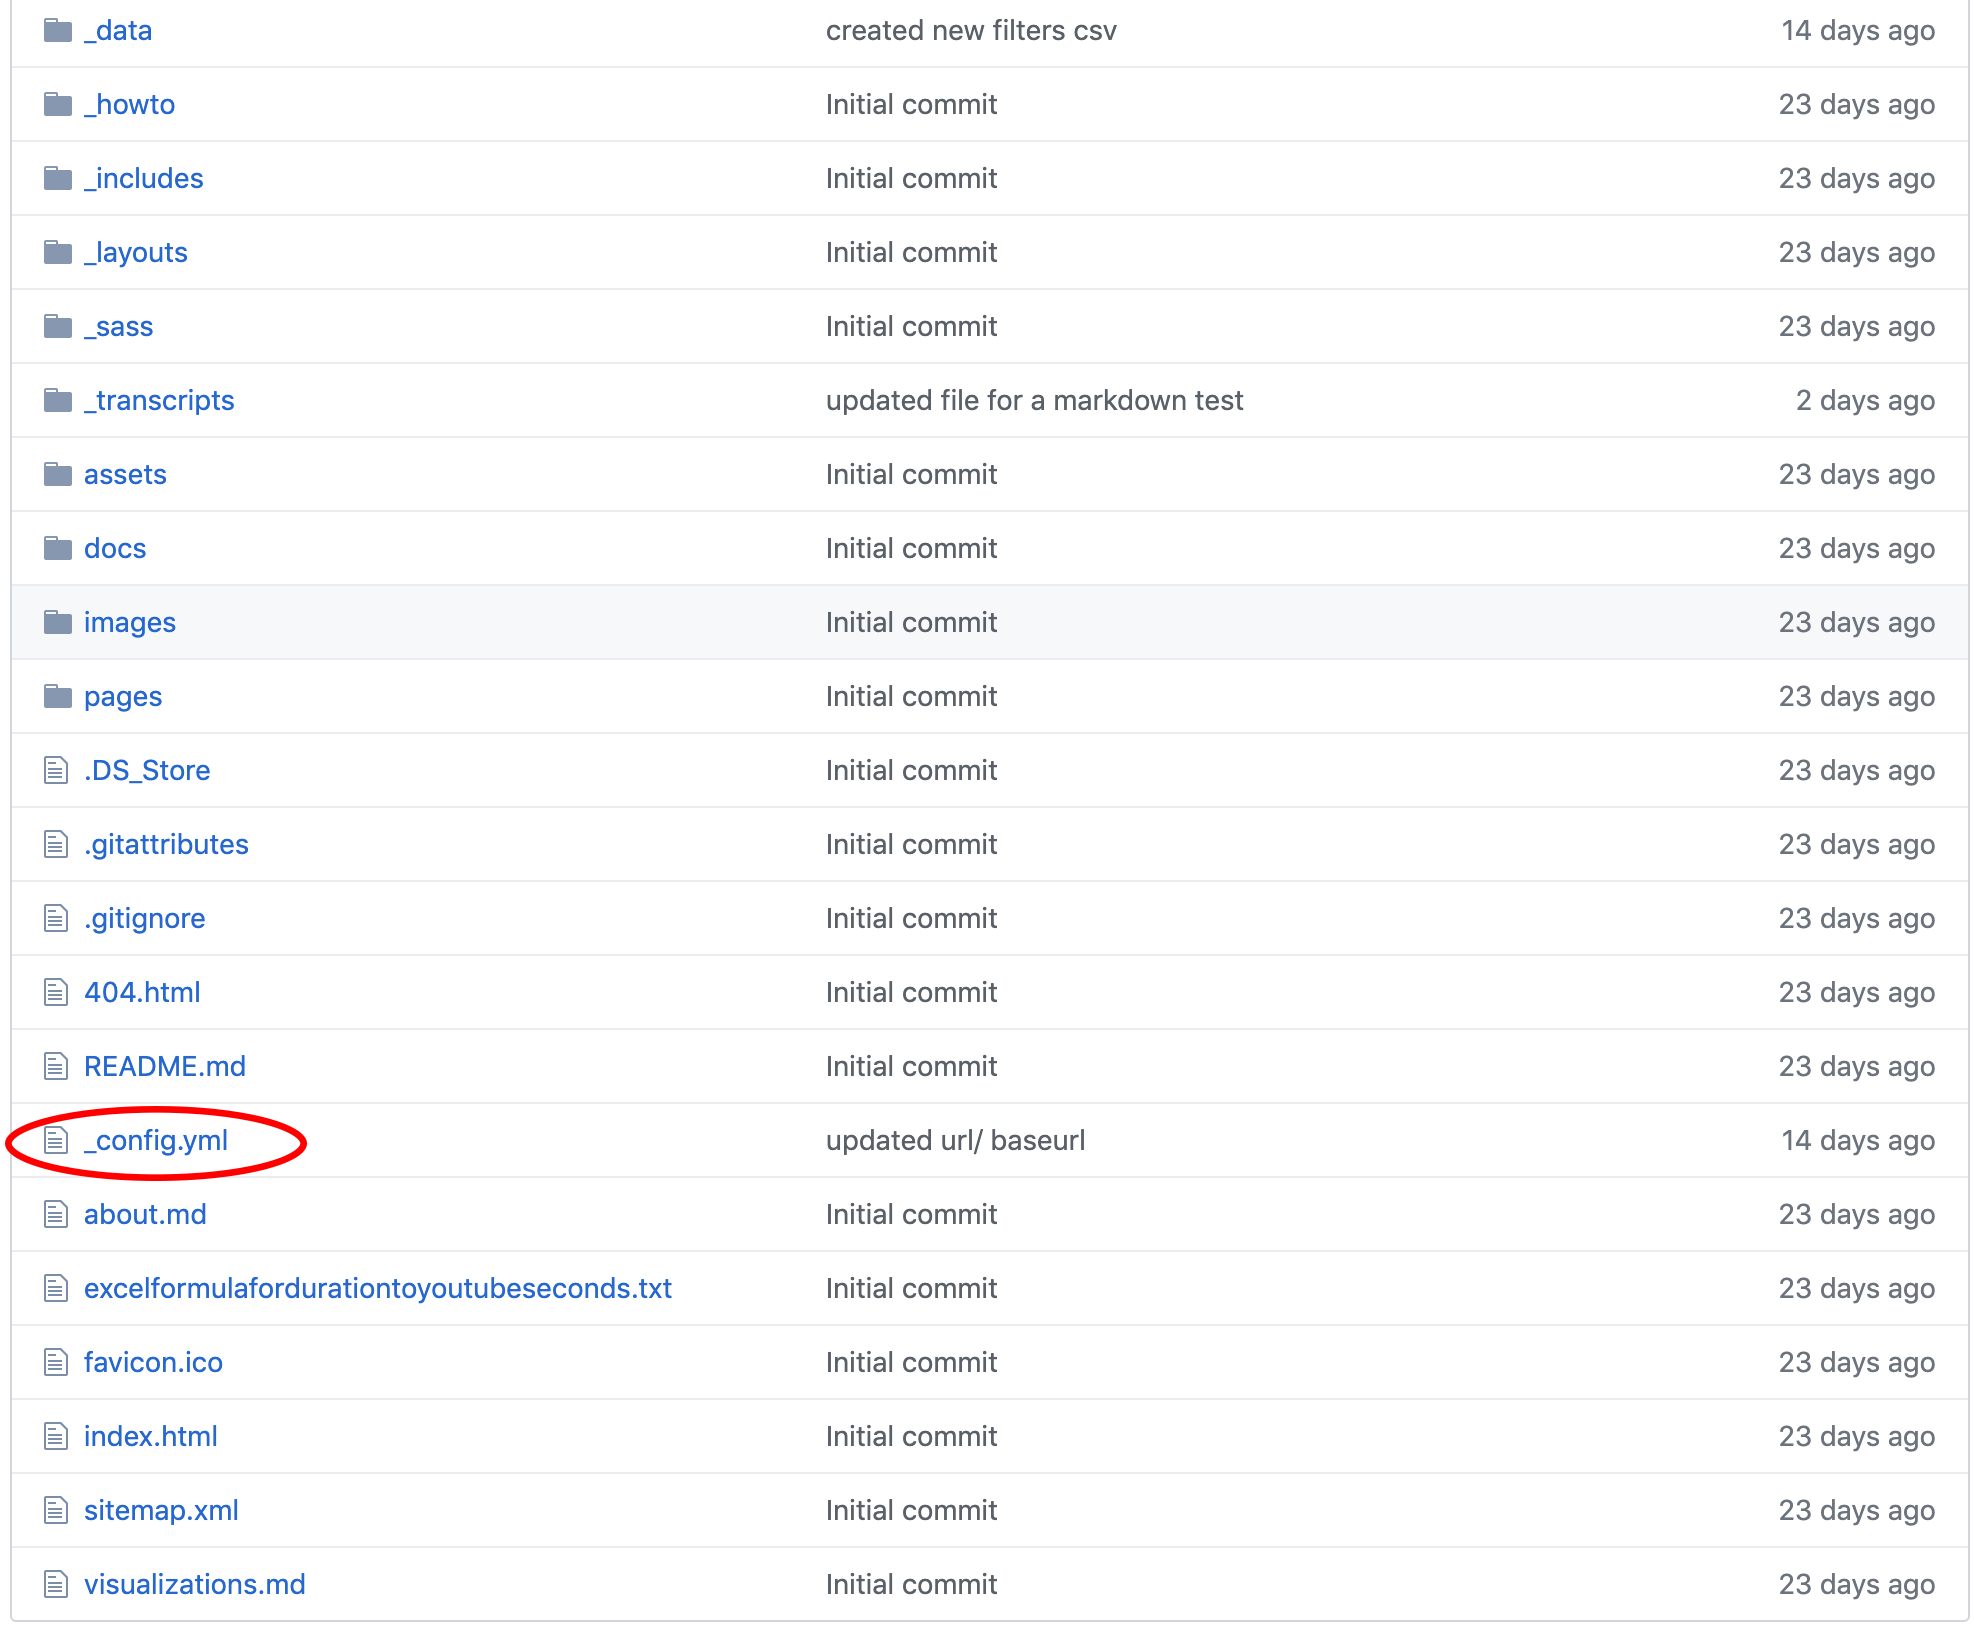
When you design your website you’ll need to edit the _config.yml file to help establish the working parameters of your page, the basic information that inhabits it, and the general layout your visitors interact with.
NOTE: when you are navigating through the _config.yml file, you will notice lines that being with hashtags. These are “comments” that provide useful information about how various lines effect your page.
Step 1: Open the _config.yml file
- First, find the _config.yml file in your base directory, which is the directory that opens when you first open the repository in github.

- Once you open up the folder, you’ll need to edit the file. Click on the pencil icon at the top right corner of the page to edit the file.

Step 2: Editing Site settings
The site settings control what appears in the website’s banner, both the bit title of the site and the tagline underneath it. The description is put in the code of each page to enable people to find your site on Google or other search engines.
Editing title, tagline, and description
- Now scroll down to the next section in this folder titled site settings. Go to the first line called title and change “Oral History (as) Data” to what ever you would like to call your site.


- Now we’re going to edit the tag line, which is a short banner that will run across your site next to the title. You’re going to replace the text next to tagline that says “analyze and publish coded oral history and qualitative interviews” with whatever site description you would like.


- In the same way as above, go ahead and edit the
descriptionvariable. This should be a longer description of your site, with keywords, dates and other material included. This will be what site indexers like Google ingest about the site, so think about what someone searching for your site might search for and add those words/phrases here.
Editing the Organizational branding variables
Edit the variables pictured below to replace the CDIL logo and link provided in the site header.

Below is more on what these variables control
organization-name–> This will adjust what shows up in the logo link’s title and alt tags, for accessibility purposes.organization-link–> This is where a user where be taken if they click on the logo.organization-logo-banner–> This is what logo will appear in the banner on larger screen widths. The image will appear on a white background.organization-logo-nav–> This is what logo will appear on the navigation bar on screens with smaller widths (i.e. phones). The image will appear on a black background.
Step 4: Generate Your Site
These steps will help you generate your website on GitHub Pages. If you’d like to serve the site from your own server, use the tool offline, or serve it on GitHub but point to a custom domain, check out our advanced topics page
- Go to the settings button at the top right of your repository page

- Scroll down to the “GitHub Pages” section
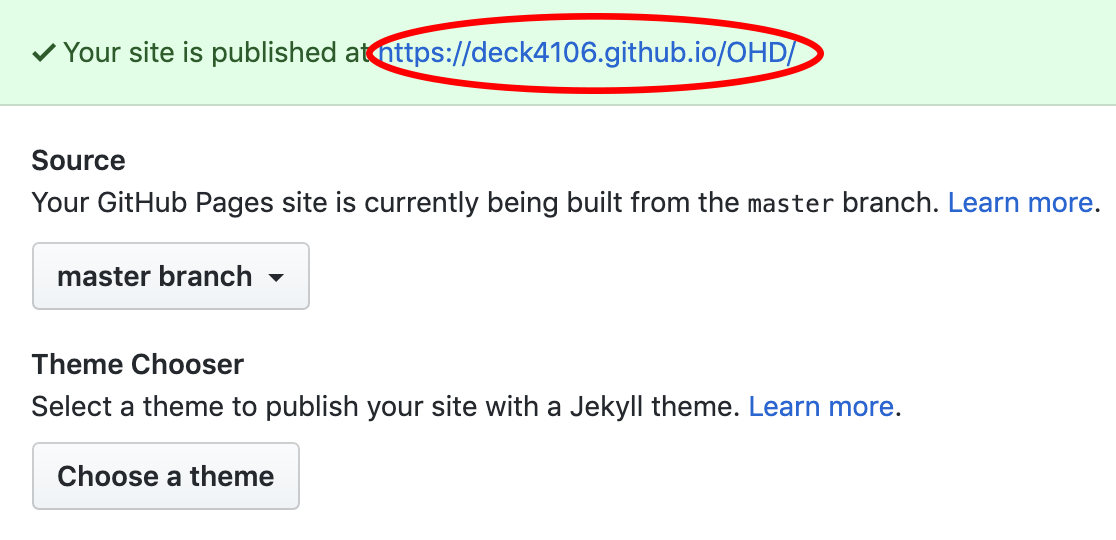
- Change source dropdown button from “none” to “master” and copy the URL they give you.

- It may take a couple minutes for the new website to build, depending on how big your site is. While your waiting, go back to the main page and click the “edit” button on your repository page

- Add the copied url to the website section and click “save”

- This will let you easily access the generated site whenever you come to edit the page.
- Check out your new site by clicking on the link. Refresh if nothing shows up. Sometimes the GitHub service takes longer than others.
Congratulations on setting up your own oral history site!
If you’re having problems …
Check out our Common Issues Page
