How To Prepare Your Data
For OHD to work with your transcript or other data, you will need to transform your transcripts/data into CSV files. Below are a few steps to help you properly prepare your transcripts for compatible use with Oral Histories As Data.
Step 1: Set up Your Spreadsheet
- Here is a template to help you get started.
- Make a copy of the template by going to the “file” tab at the top and selecting “make a copy”.
- Give your transcript a simple name.
Step 2: Clean Your Transcript and Paste It Into your Spreadsheet
Clean Text and Edit Tags
Smart quotes, single character ellipses, and other artifacts won’t render correctly on the web so it’s best to clean your text before you transform it for the tool. To do so:
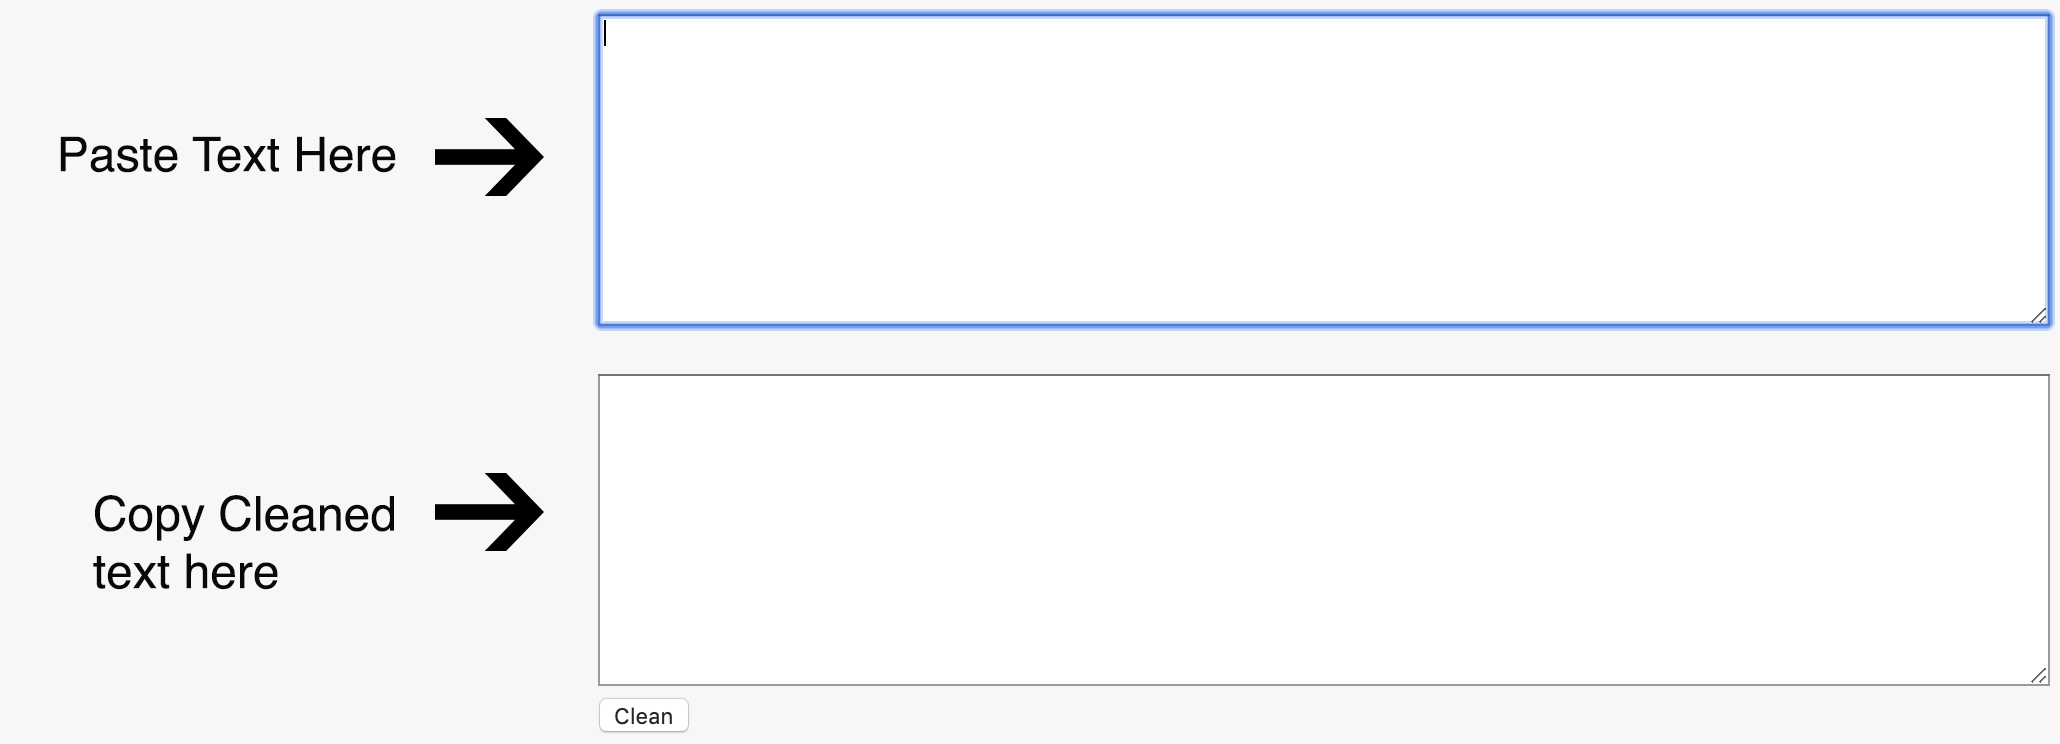
- Take the text from your transcript (be that in a Word file, a PDF or some other format) and run it through this text cleaner provided by Jonathan Hedley
- This should also make it so that your transcript transfers nicely into the cells of your spreadsheet.
- Copy and paste the text into the top window, press clean, and then copy the text from the bottom window.
- Paste the clean text you made in Step 1 into the Google Sheet you made in step 1. Be sure to paste it just below the cell titled “speaker”.

Step 3: Add Tags/Codes to Your Transcript Spreadsheet (Optional)
Note: in order to enable the visualization, you must have coded your spreadsheet
If you’d like to enable subject-based browsing and color-coded visualizations for you transcript, you need to “code” portions of the conversation according to the subject matter.
- To do this, start adding “tags”– which should be shorthand descriptions of larger thematic subjects that pertain to this and other transcripts in a collect– in the cells under the “tags” column that pertain to the content in the adjacent “words” cell.
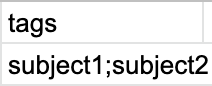
- If you have multiple subjects in a cell, separate them with a semi-colon (as pictured above).
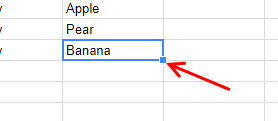
- You’ll often want to cover a large portion of the transcript with the same tags. In Google Sheets, you can do this by hovering over the bottom right of a cell (pictured below) and then dragging your cursor across the pertinent sections of the transcript below or above where you started.
- This saves a great deal of time, as usually sections of the oral history are all pertaining to the same tags/subjects.
See a finished transcript: You can check out what a finished transcript looks like in this Sample Google Sheet
Step 4: Download Your Transcript Spreadsheet as a CSV
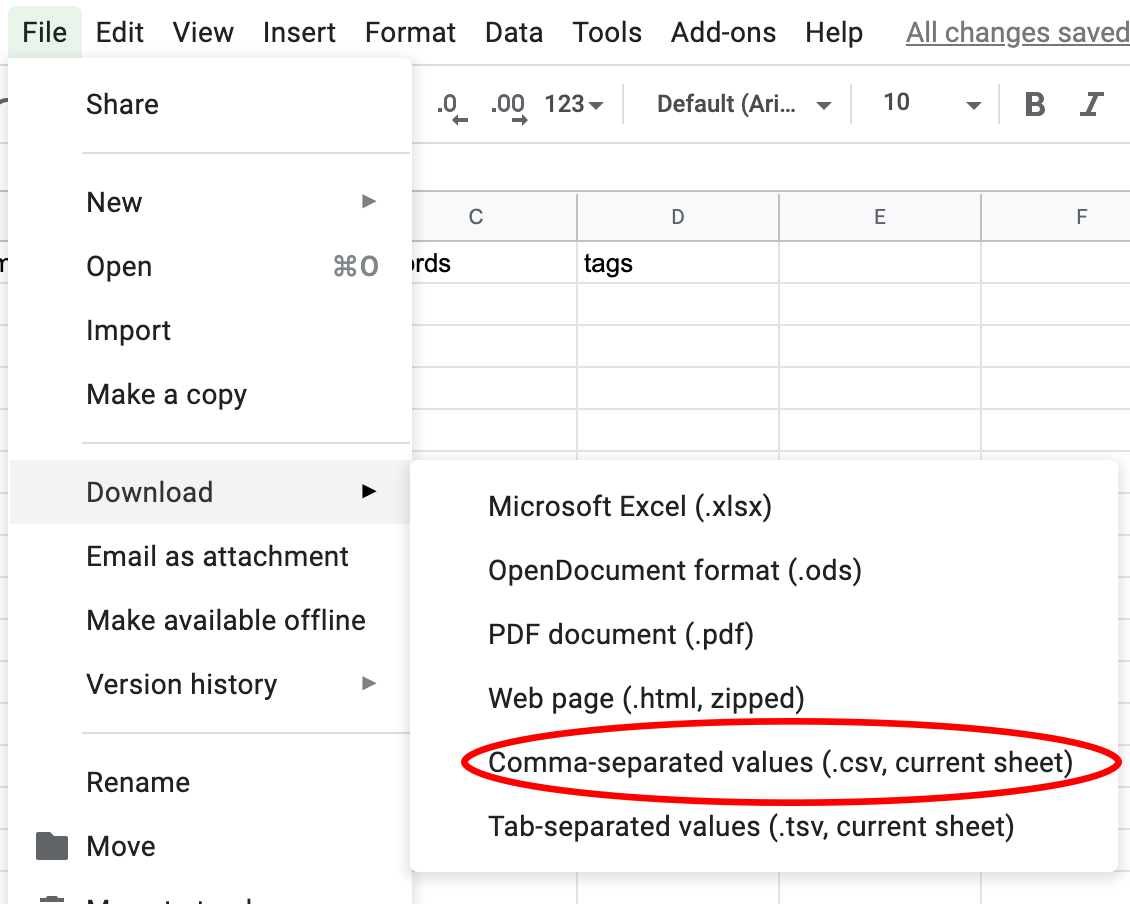
- Once you’ve edited the Google Sheet and gotten everything in order, go to the “file” tab at the top of your sheet and hover over “download”
- Select “comma-separated values” to save your file as a .csv file
- Once downloaded, rename your transcript so that’s its as simple as possible, removing any spaces or special characters.
- We typically use either just the last name, for small collections, or
lastname_firstname, for larger collections. Make sure the file retains its (.csv) extension.
- We typically use either just the last name, for small collections, or
Step 5: Create Your Filters.CSV (optional)
The filters.csv file will communicate with the tags you enter into the the tags field of your transcript’s CSV to create the tool’s color-coded visualizations (seen below).

- Open this blank spreadsheet.
- Click the “file” icon and choose “make a copy.”
- In the “tag” column write out the tags you wish to include in the transcript.
- In the “description” column write out a brief description of that tag.
- When you’re finished create a new .csv by clicking on the “file” icon, hovering above “download”, and selecting “comma-separated values”.
- Rename this file:
filters.csvand upload it into your GitHub repository’s_datafolder. (Instructions in our next step.)- Note that you will want to continue to edit this file as you add more transcripts and more codes