How To Configure Your Website
Below are a few quick steps to help you begin configuring your GitHub site for use with Oral Histories as Data (OHD).
Step 1: Make a Template of OHD
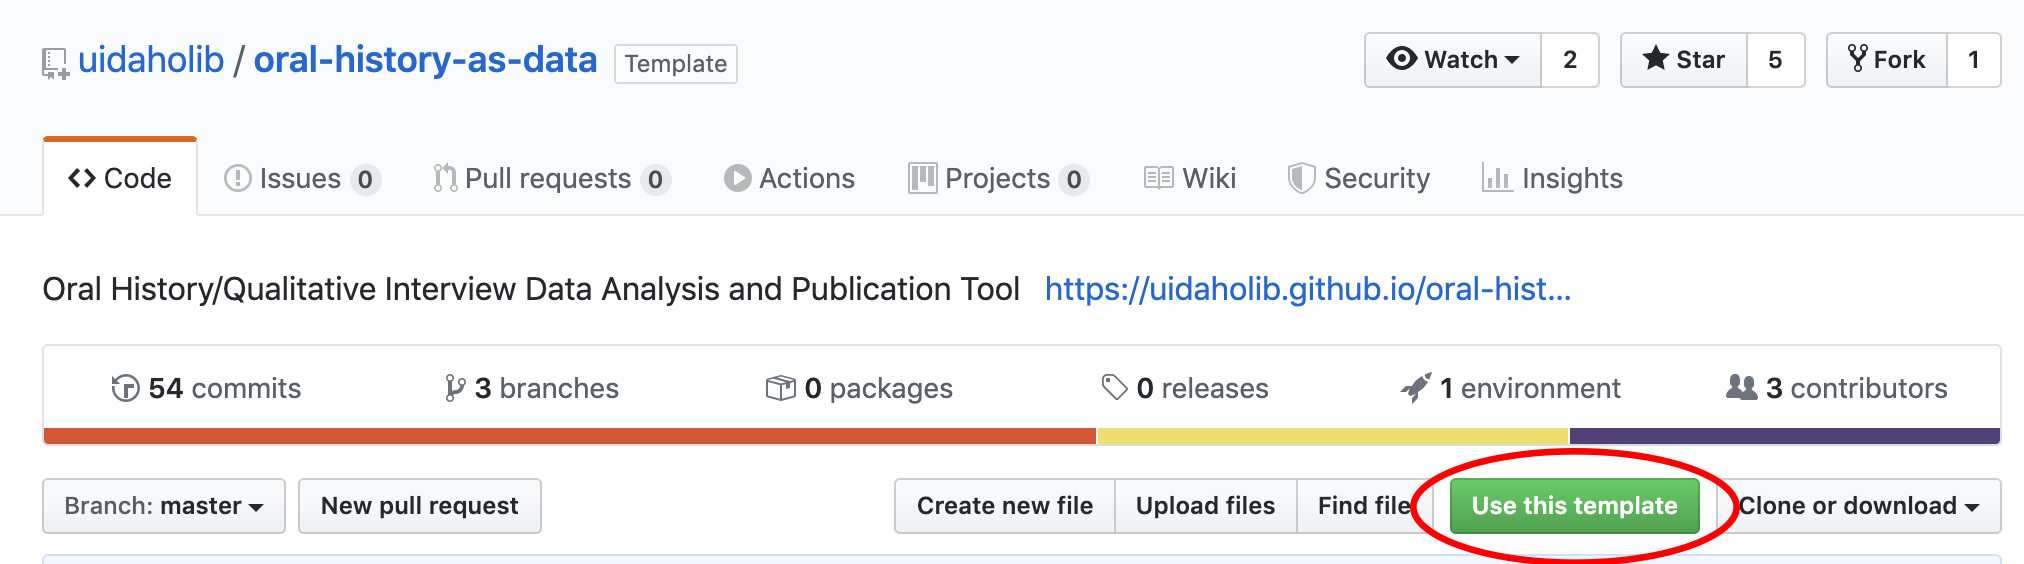
- Go to the Oral History as Data GitHub Repository and click on the green “Use this template” button toward the top right of the page.
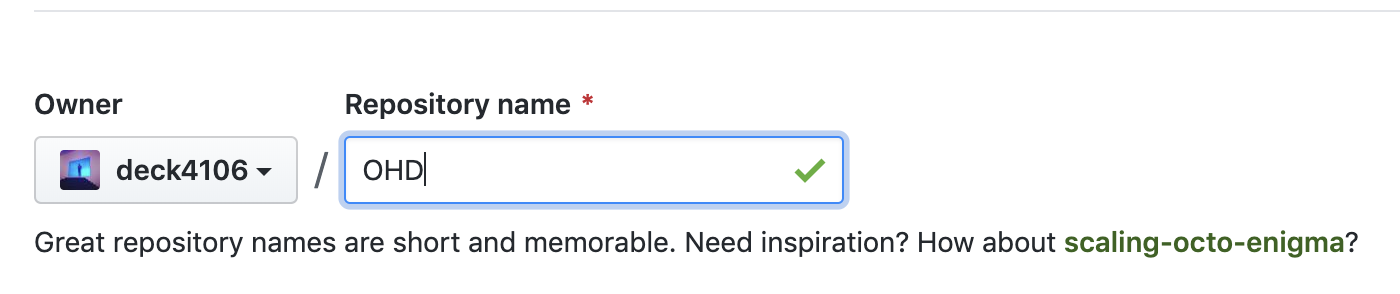
- Name your repository.
- Click the “Create Repository From Template” button – this will copy all the files (but not the history!) of the Oral History as Data repository into your own repository.

Step 2: Upload Your Transcript
Go to the _data/transcripts/ directory:
- Click on the
_datafolder, which will take you to a new page. - Then click into the
transcriptsfolder.
Drag your transcript(s) onto the webpage to upload them:
- Find the transcript spreadsheet/CSV file or files you created and downloaded in the Prepare Your Data Section.
- Make sure the transcript CSV is titled something simple, and that it’s all lowercase and has no spaces or special characters. E.G.
doe_john.csv(And make sure it has a.csvextension!)
- Make sure the transcript CSV is titled something simple, and that it’s all lowercase and has no spaces or special characters. E.G.
- Drag the file or files onto the web page – the page will change when you drag it onto the webpage to say “Drop to Upload Your Files”. Drop the file to upload it!
- Alternatively, you can push the “Add File” dropdown button at the top right of your screen, and then select the file(s) you’d like to upload.
Commit your upload/changes to add the file(s):
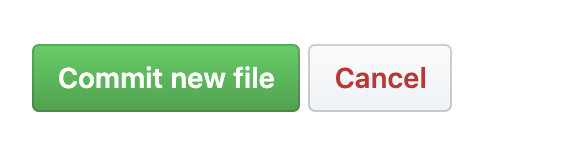
- Once it’s uploaded, you’ll need to commit your change to make it permanent. Commit your upload at bottom of page by scrolling to the bottom of the page and clicking “commit new file”.
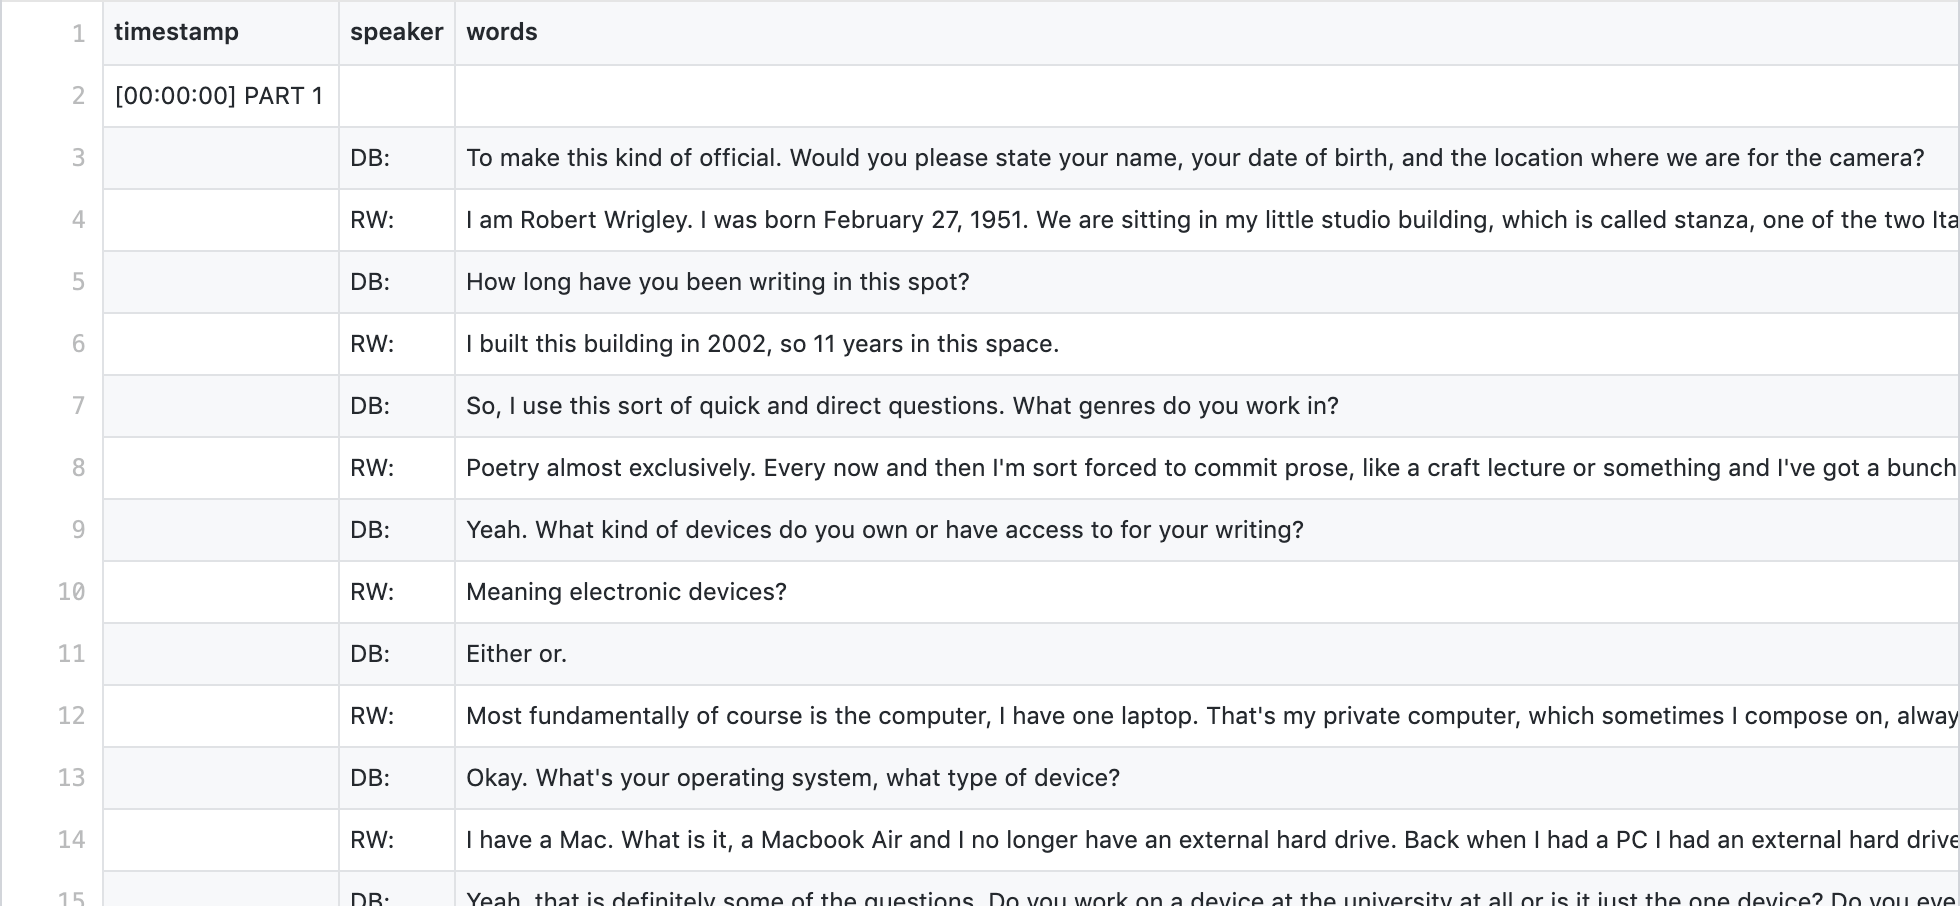
- Below is what the CSV should look like after you’ve committed it into your GitHub repository.
NOTE: If the CSV has a problem, GitHub will show you an error message that will say: “We can make this file beautiful and searchable if this error is corrected:” After that phrase, they will also point out a line number that is causing the problem. Open the file up by clicking on the pencil icon in the top right of the file area. Go to the line indicated and see if there’s an obvious error. If you can’t get it fixed, go back to your Google Sheet and see if there’s anything to clean up. Even if there is nothing wrong, re-download the file as a CSV, rename it to the new title, then drag it back to the page as you did above. Hopefully one of these steps clears up the problem.
Step 3: Upload Your Filters.CSV file
Much like the step before, you will:
- Go to the
_datafolder. - Upload your
filters.csvfile into the folder by dragging it onto the webpage- This will replace the file that is currently there.
- Commit your changes.
Step 4: Creating a Markdown File
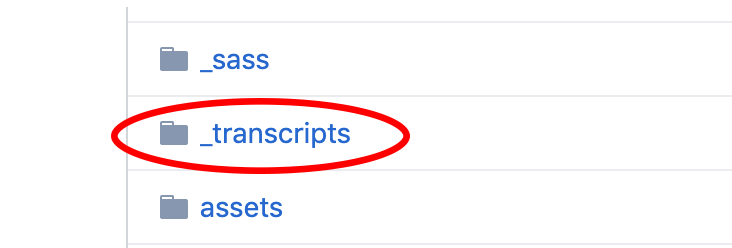
Go to the _transcripts/ directory:
- Navigate back to the root of your repository by clicking on
<> Codeat the top left of the page. - Click on the folder that says “_transcripts”
Make a copy of one of the Markdown files in the directory:
- Open up any of the .md file examples that are in this folder
- Navigate to the button that says “raw” and click it
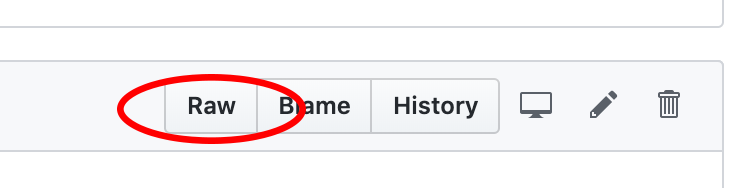
- Copy the text inside of the file you opened
Create a new Markdown file for your transcript by pasting and then editing your copied text:
- Go back to your _transcripts directory by clicking back two pages in your browser.
- Click the “Create New File” button
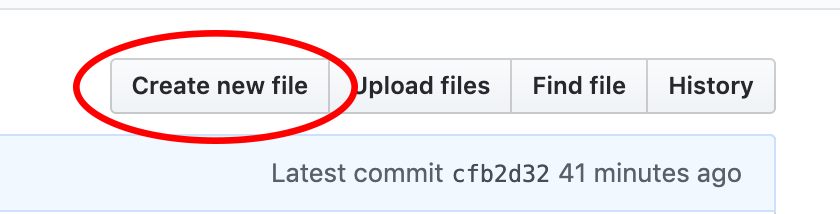
- Name this file the same name you named your transcript file, but be sure to put
.mdrather than.csv, as it’s extension.

You are creating a markdown file; more on Markdown here.
Jekyll uses the markdown file as the basis for creating web pages. All the information stored between the two --- at the top and then down a bit is called frontmatter. This frontmatter is written in a language called YAML, which is a a human-readable language for writing/storing data variables. (You’ll work with some .yml files later as well)
- Paste the text you copied from the raw file you opened earlier into this new file.
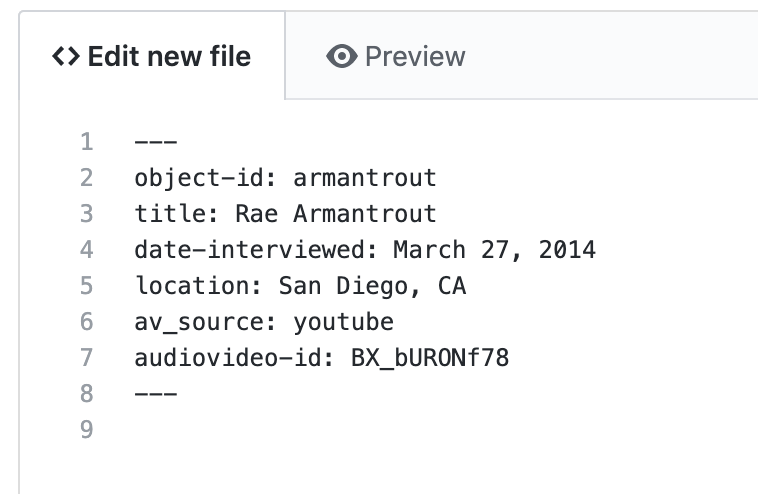
- Edit the variables in the frontmatter between the
---lines ) to fit your data – be sure that the object-id option is the same as the filename (without the extension) of your transcript.
NOTE: if the “object-id” field is different than the name of your transcript CSV file in the _data/transcripts folder, the tool will not work. The transcript file will have an extension (.csv) but the object-id should not have an extension. So if the transcript is called doe_john.csv, then the object-id for the corresponding Markdown file should be doe_john.
Commit your changes:
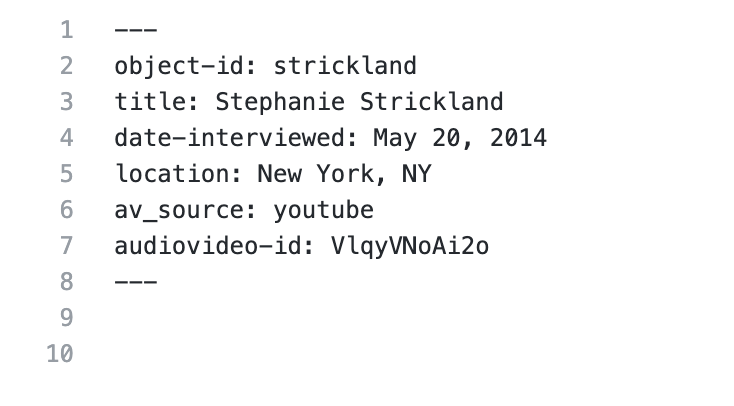
- Write a commit message, briefly describing the changes you made and then commit them at the bottom.
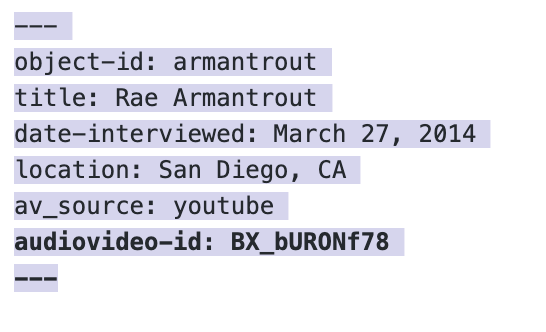
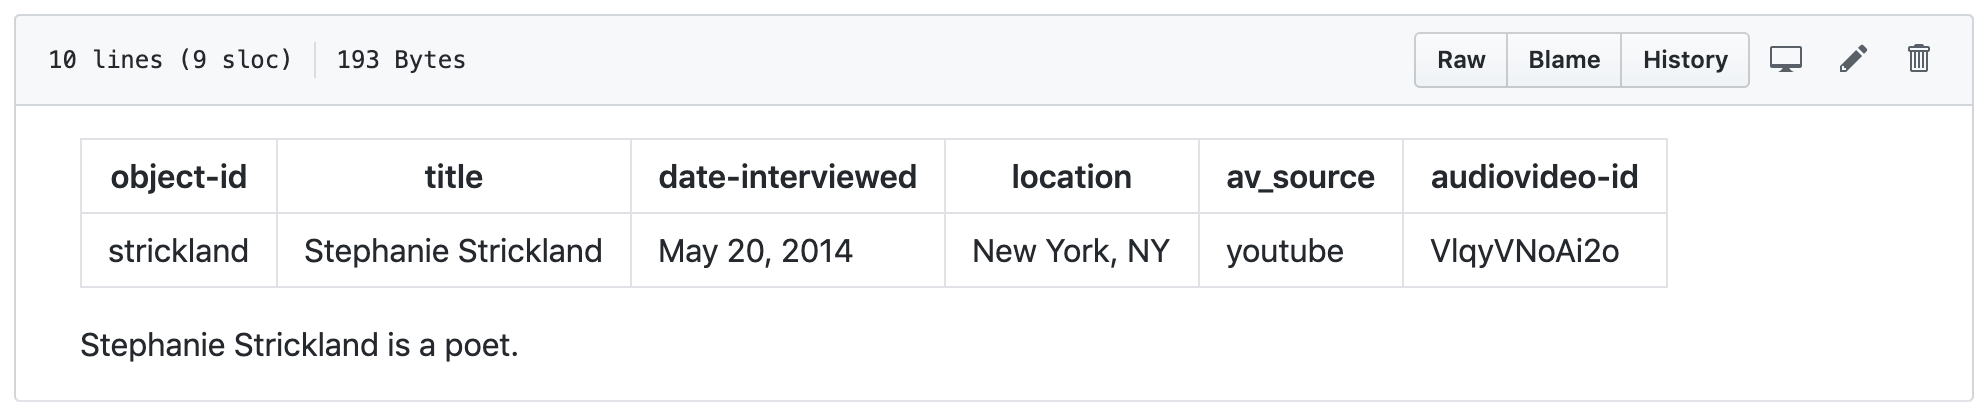
- Once you are done, navigate to your new file, it should look like the example below
Optional: Connect the transcript to an audio or video file using av_source
You may want to connect transcript to a audio or video recording. The tool has built in connections to YouTube, Vimeo, Soundcloud, and plain mp3 files. You’ll need to incorporate some simple information in the header of your markdown file to make these connections possible. To provide users navigation to certain moments in the recording, you’ll also need to provide timestamps in the data file.
- Look in the header of your markdown file. You’ll see that there is a space for av_source. Here you have four options, using OHD:
mp3, youtube, soundcloud, or vimeo.
Using all lowercase letters, type the platform’s name where your file is uploaded.
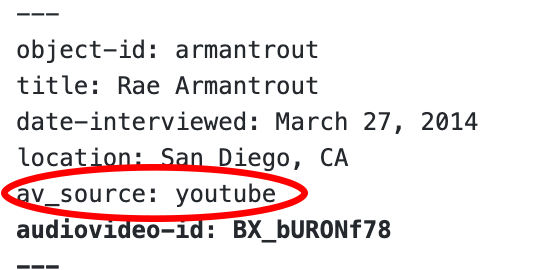
- Below av_source, you’ll see a space for your file’s audiovideo-id. Fill in this information.
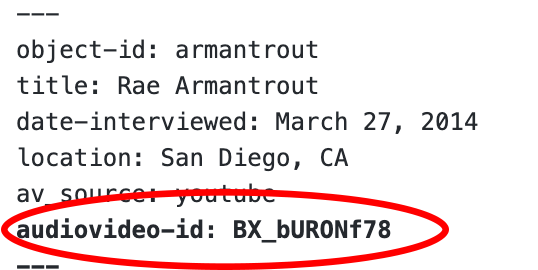
- Below are pictures indicating the location of various audiovideo-id locations on different platforms.


NOTE: if you want to utilize an mp3 file, you can create also create a webpage to house your file and link the URL, in quotation marks, in the audiovideo-id. You can store mp3s in your GitHub repository, but be aware that GitHub only allows a small amount of space to each repository. It’s probably best practice to link them from elsewhere. You will also need to change av_source to “mp3”. Follow the visualizations below for instruction.
- If you have a page for your mp3 file copy the URL.

- Copy and paste URL with quotation marks included.
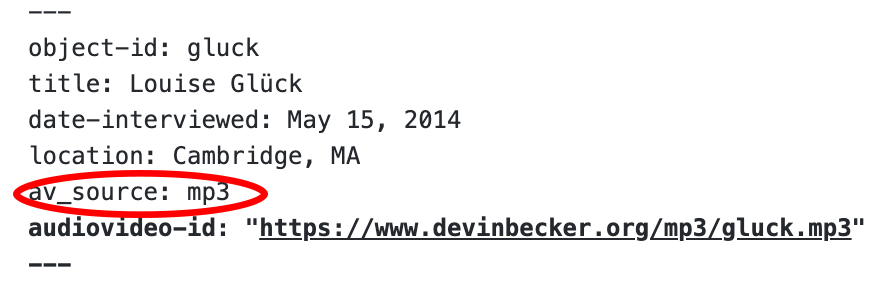
- Change av_source to “mp3”.
Step 4: Setting up the visualization(s)
OHD offers a way to categorize your transcripts using tags. This is done through two locations: the “tag” column cells in your transcript’s CSV and the filters.csv file, which is already provided for you in the structure of OHD. If you are not aware of either of these files, first visit our steps on “How To Prepare Your Data.”
- Open the filters.csv file you created in your text editor.
- Navigate to the “_data” folder
- Open the “_data” folder and click the pencil icon to edit the file
- Copy and paste the filters.csv you created in the Prepare Your Data tutorial over into the existing content.
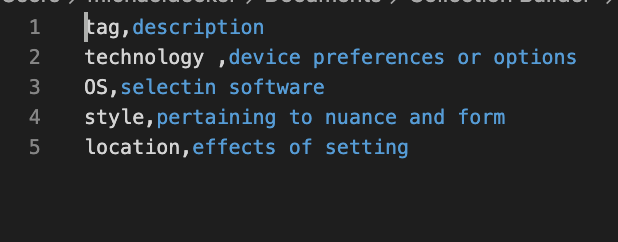
- Alternatively, you can simply edit the CSV file here. (Below is how the file looks when opened with the pencil icon.)
- Commit the change at the bottom of the page by clicking the commit button (be sure to write a commit message so you can track your changes)
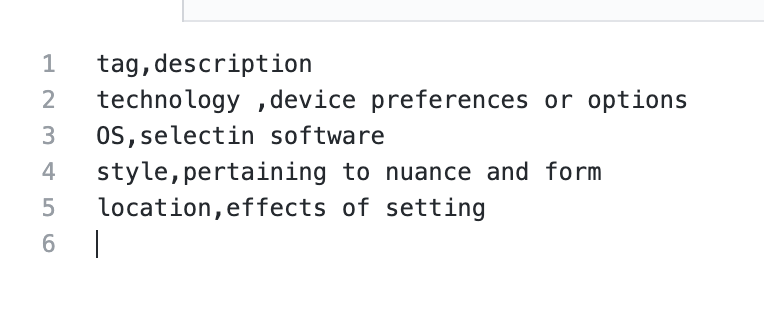
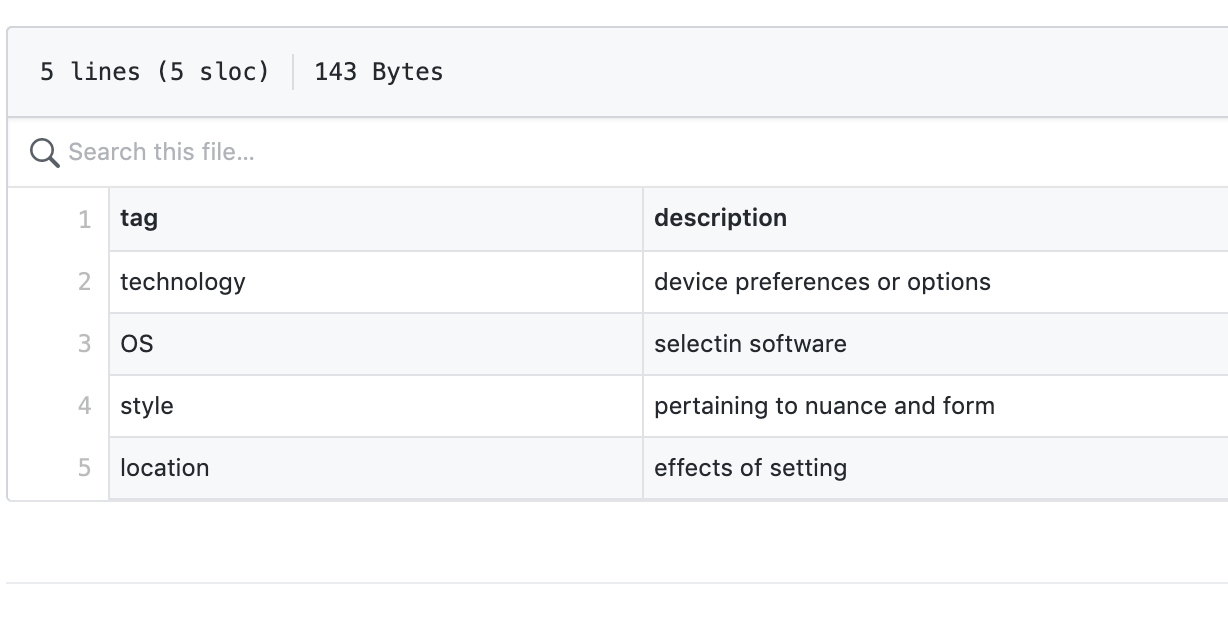
- However you edited it, the finished CSV should look like the example below (with your new tags and descriptions) in GitHub
- Below is a slightly more robust example of what your visualization will look like.
