Scanning Procedures
Before you scan: Make sure that hands are clean and dry when handling materials for scanning or any type of digitization work; all materials should be handled with care, and cotton gloves worn when instructed by a supervisor. These items cannot be replaced or easily repaired if destroyed or damaged.
Why do we scan?
Digitizing materials by scanning them with a flatbed, large format, or feed scanner is sometimes the safest and most effective means of preserving the information in an item and allowing others to access it. Scanning items at a high resolution allows the item to be used in different ways without needing to make any manipulations to the actual item. This is why we aim for a minimum 600 dpi image; it provides a scalable image that can be used for large or small reprints while maintaining the original details of the item.
File Naming
Every item you scan needs a file name! A standardized file naming system helps us know exactly where an item came from or where it belongs just by looking at the file name. Scanned files should be named using the following standardized naming rules:
collectionabbreviation_box#_envelope/folder#-item#subitem
- Filenames should be all lowercase.
Examples:
- Manuscript Group 190, Box 4, Folder 2, letter 1, multiple pages = mg190_b4_f2-001p001, mg190_b4_f2-001p002, etc.
- Photograph Group 3, box 1, photograph 3 = pg3_b1-003
Scanning Images
Prepare to Scan
- Go to your personal folder in the ‘Scans’ folder on the C: drive at your workstation. If a supervisor has not done so already, create a folder for the scanning project titled after the collection you’ll be scanning (ex.:
MG 183). Inside that folder, create another folder called ‘tif’. This folder will be the destination for your initial scans.
How to Scan an Image
-
Turn on scanner at station. Open EpsonScan scanning software.
-
Place item to be scanned along the left side of the scanning bed (the glass plate), leaving a slight border between item and edge.
-
Position the Color Separation Guide so that the “saturated” bar is beside the item being scanned. Be sure to leave a ⅛-inch gap between the guide and the item.
-
Close the scanner lid and press “Preview” in EpsonScan.
-
Once the preview scan is finished, use the cursor to draw the selection window around the item and as much of the Color Separation Guide as is needed to color balance the item. There should not be a lot of space between the item and the edges of the selection window; see below:

- Images should be scanned at 600 dpi and should be at least 6,000 pixels on the long edge. This measurement is located at the bottom left of the preview panel. The color filter should be set to “none”:

- Once your settings are correct, press “Scan”. The “File Save Settings” window will pop up and you will need to:
- Click “Other” and then “Browse to select the file you want your scanned images to be saved to. This should be the tif folder you already created.
- Set up the File Name prefix. This should reflect the collection, box number, item number, and any other identifying characteristics like page numbers. See File Naming for complete details. The Start Number should be at 001 if you’re starting a new project, or set to the next sequential number if you’re in the middle of a project.
- In the Image Format section, the file type should be set to TIFF (*.tif).
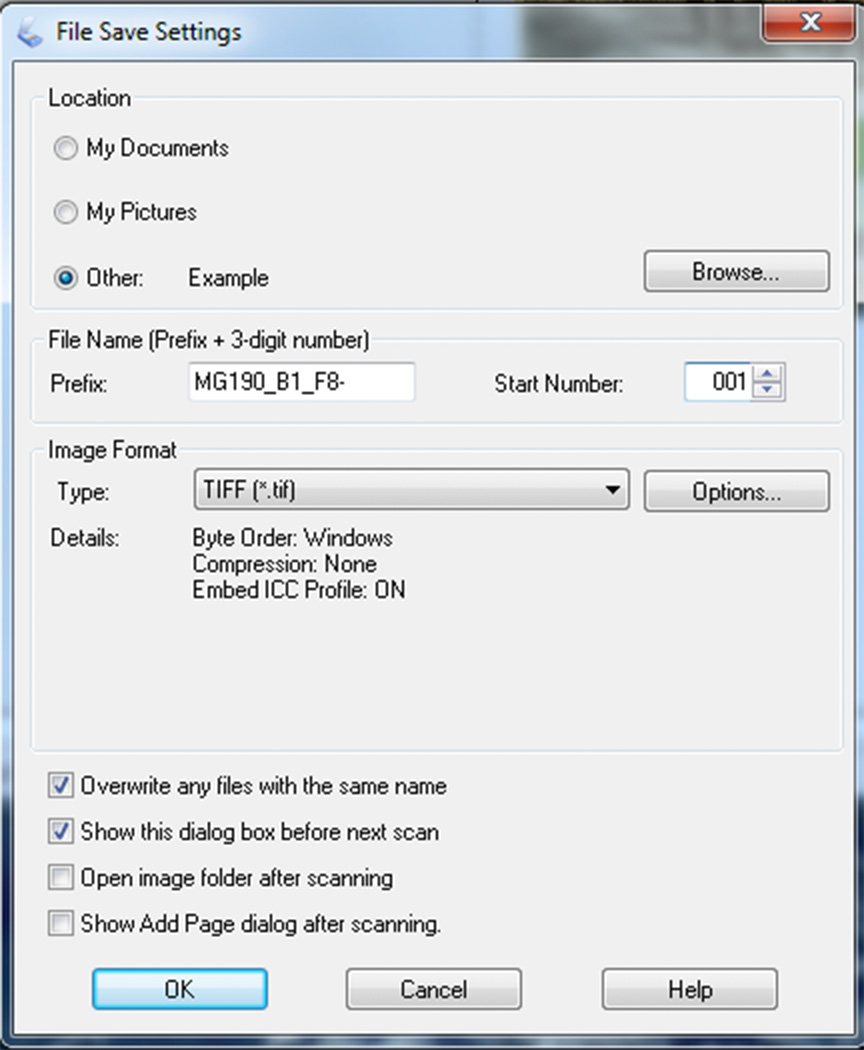
- Press “OK” and the scan will begin.
Scanning Documents
-
The directions are similar to scanning an image, but with different requirements.
-
All documents should be scanned at 400 dpi with the color filter set to “none”.
-
All documents should be scanned to JPEG format, not TIFF.
-
Depending on the size of the document and the scanner used, the Color Separation Guide should be used following the same guidelines recommended when scanning images (Color Separation Guides will not be used on the feed scanner.) Please ask CDIL staff if this applies to your project.
-
Use the standard File Naming conventions for scanning items.
-
Once a folder, box, or project is completely scanned, convert the files to JPEG using the Processing guide.
————–
Lab Equipment
An overview of the scanning equipment used in the CDIL.
Scanners:
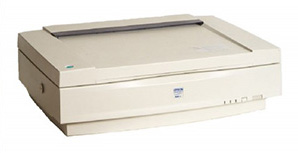 |
The EPSON Expression 1640XL is a 42-bit color, professional scanner that can achieve up to 1600 x 3200 dpi hardware resolution. The scanning bed is 12.2" x 17.2". The user manual can be found here. |
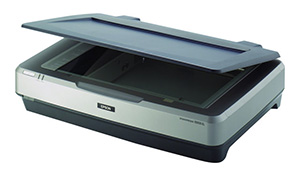 |
The EPSON Expression 10000XL is a 48-bit color, professional scanner that can achieve up to 2400 x 4800 dpi hardware resolution. The scanning bed is 12.2" x 17.2". The user manual can be found here. |
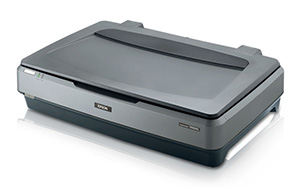 |
The EPSON Expression 11000XL is a 48-bit color, professional scanner that can achieve up to 2400 x 4800 dpi hardware resolution. The scanning bed is 12.2" x 17.2". The user manual can be found here. |
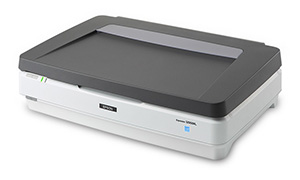 |
The EPSON Expression 12000XL is a 48-bit color scanner that can achieve up to 2400 x 4800 dpi hardware resolution. The scanning bed is 12.2" x 17.2". The user manual can be found here. |
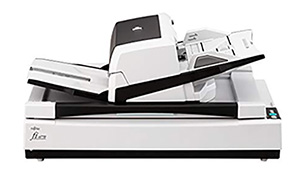 |
The Fujitsu Fi-6770 is a 24-bit color document feed scanner that can achieve up to 1200 dpi. We use this scanner for larger documents that have many pages, as this machine is able to feed and scan large stacks of paper automatically. The user manual can be found here. |
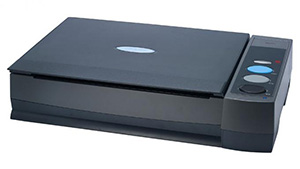 |
The Plustek OpticBook 3800 is a book edge scanner designed to eliminate spine shadows when scanning books. This is a great scanner for books that we aren't allowed to cut the spine away from, as it allows us to get closer into the center of the book. |
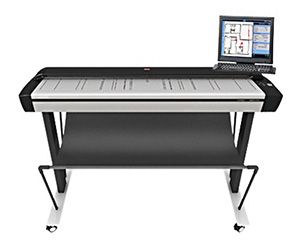 |
The Contex Plus HD5450 is a large format feed scanner designed for larger objects (like maps, portraits, blueprints, etc.). Depending on how fragile the materials being scanned are, we'll sometimes use protective mylar sheets with this machine (and it's often a two-person ordeal). More information on this model can be found here. |